An easy and simple homemade grain-free peanut butter pumpkin dog treats recipe, made with 3 ingredients for dogs with sensitivities to grains. A special treat this time of year for our furry sidekicks!
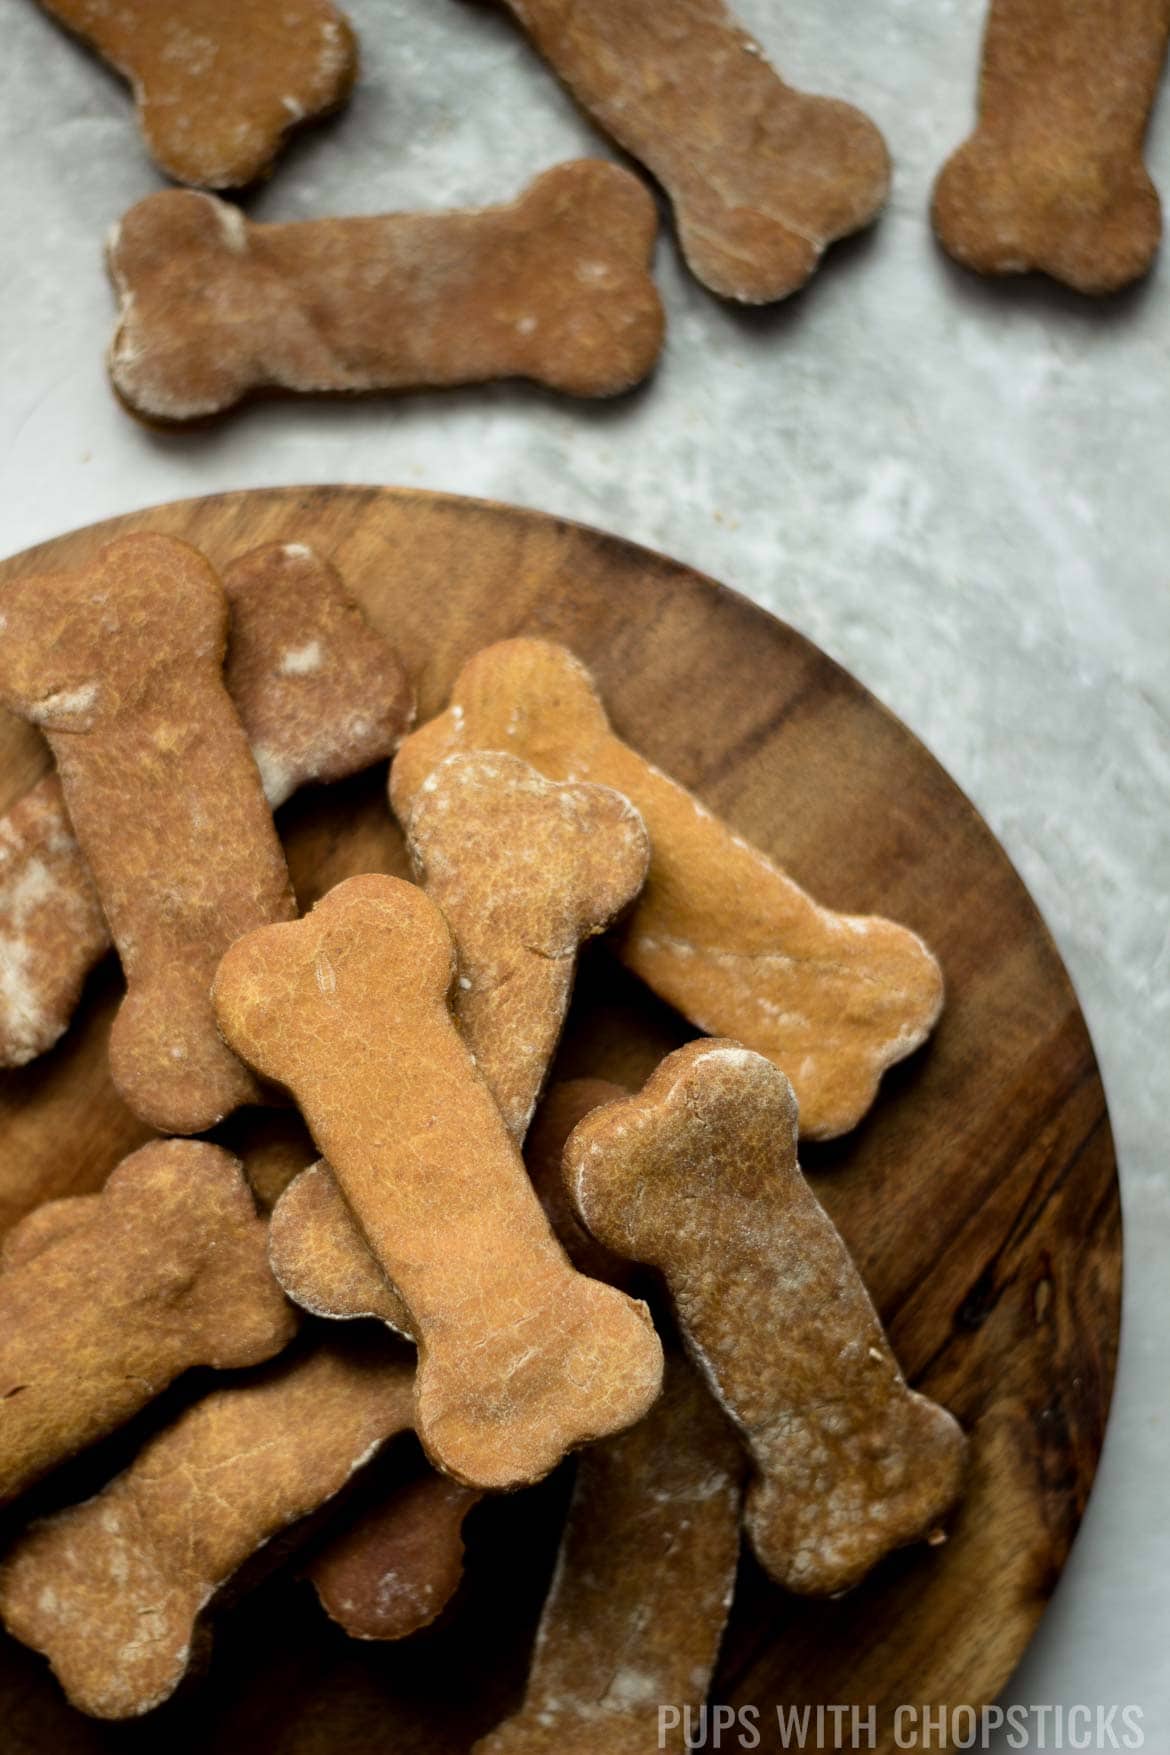
Table of Contents
Like humans, dogs also come in all shapes and sizes and have unique traits and characteristics. Some dogs can eat pretty much anything and not have a worry in the world, while other dogs have sensitivities to ingredients or are incapable of digesting certain foods - with this thought in mind along with an email I received asking if my other 6-ingredients homemade dog treat recipe dog treats could be substituted with grain-free products, I decided to create a grain-free dog treat recipe that was simple (3 ingredients) with no binders (like eggs) and no added sugars as an alternative for the pups out there with the special diets. 🙂
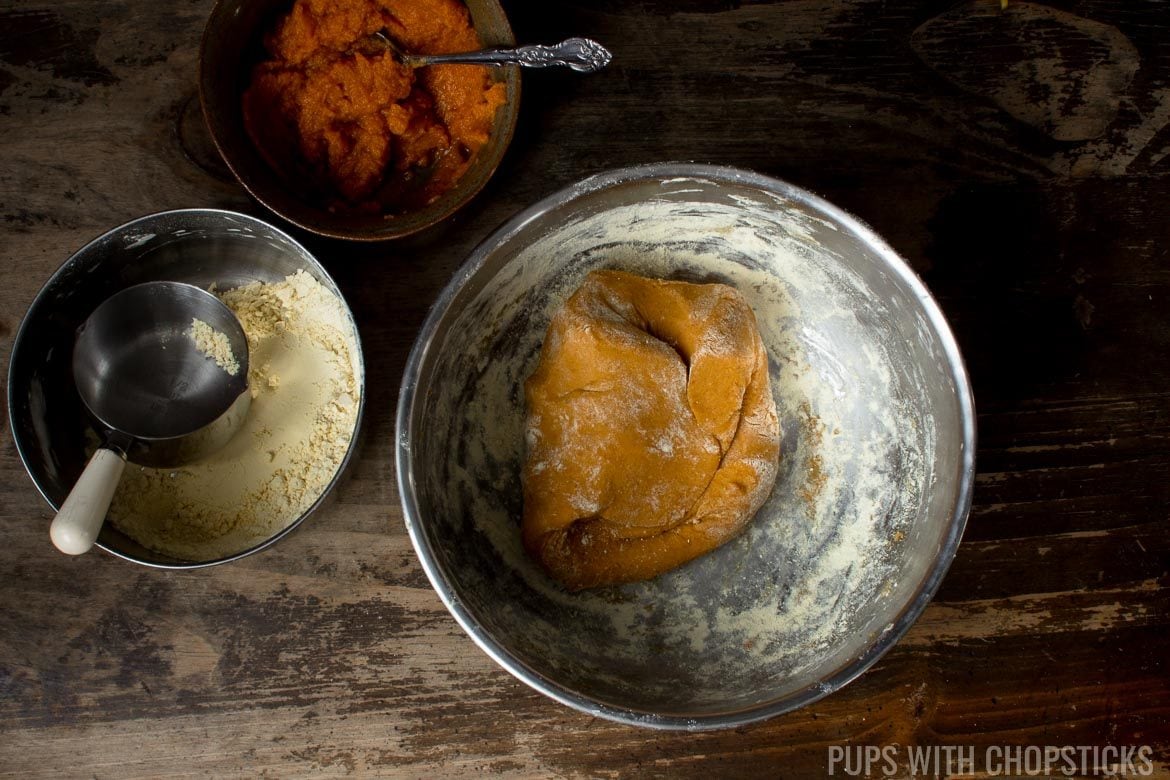
To keep this recipe simple, there are no eggs in this recipe. You actually don't need it as a binder because pumpkin is a wonderful binder on its own. I also decided to use pumpkin as the main ingredient because it's good for dogs (especially dogs with diarrhea and upset stomachs) and it has the ability to draw moisture out of things, which is a great way to dry out the treats! Double duty with no negatives. 😉

Grain-Free Dog Treats Ingredients
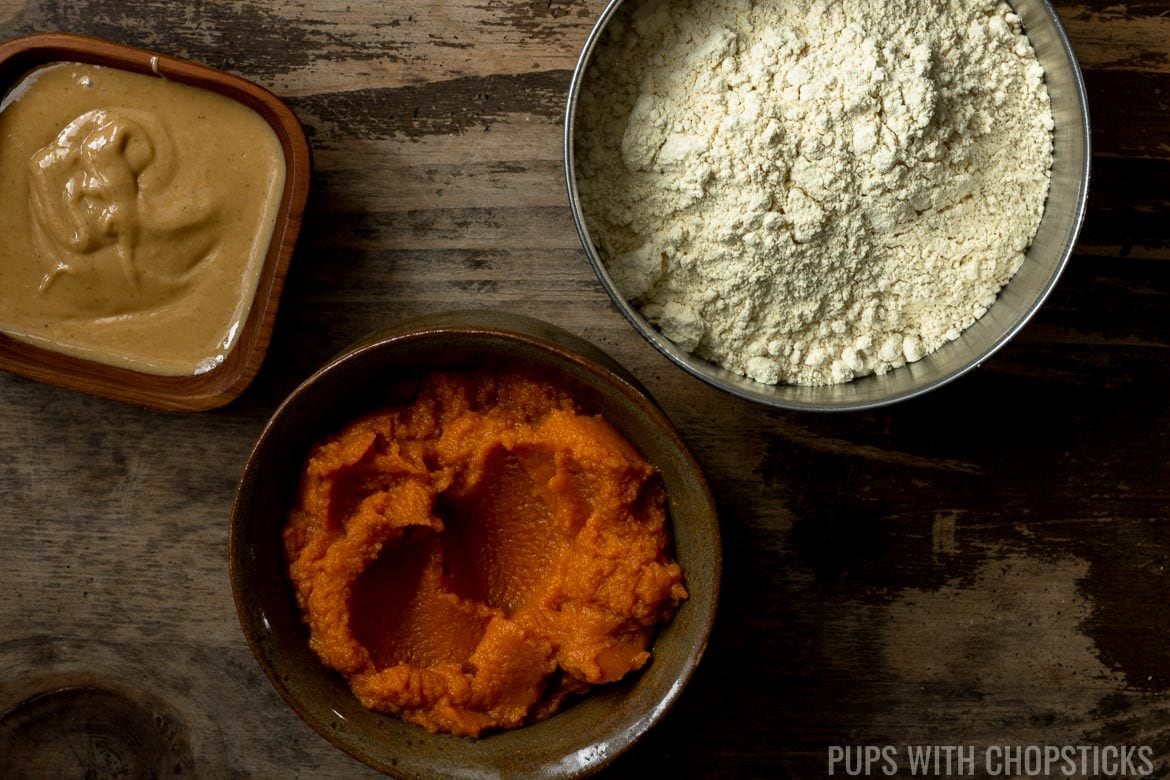
- Peanut Butter - When you are buying peanut butter for this recipe, make sure to read the ingredient label to make sure there are no added sugars, xylitol, salts or additives in it. I like to use natural peanut butter (the kind where the oil separates from the peanut butter).
- Pumpkin puree - You can find canned pumpkin puree at the supermarket. Please make sure you are buying 100% pumpkin puree and not pumpkin pie filling, read the ingredient label, it should only contain pumpkin and it shouldn't contain any sugars or spices.
- Chick Pea Flour - To keep these treats grain-free, I used chickpea flour. It is also known as besan or gram flour if you buy it from the Indian grocery store.
How to Make Grain-Free Dog Treats
Dough Consistency
When you are kneading the dough, it might get a bit sticky, if it does, add 1 tablespoon of chickpea flour at a time and keep kneading. The consistency of the dough should be like play-doh. Once you have added enough chickpea flour and the dough is not sticky, you can put it in the fridge for an hour to harden it a little. This will make it easier to cut shapes out of the dough.
How to Make Dog Treats Without Cookie Cutters
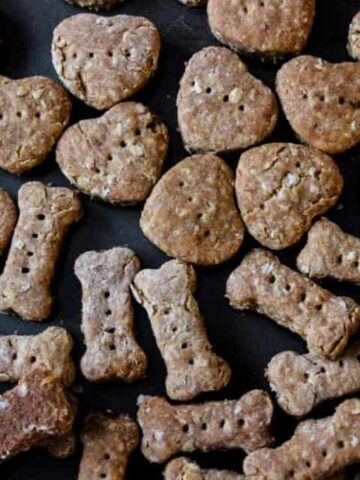
I'm pretty sure our pups don't care what shape their treats come in, so if you don't have cookie cutters, it's really not a big deal. It will actually make the recipe even easier and quicker to complete because instead of using cookie cutters to make cuts into the dough and then re-rolling the leftover dough to re-cut them with the cookie-cutter again, you can use a knife and cut them into little squares or rectangles. 🙂 If you do use a cookie cutter, I found it a lot easier to dip the cookie cutter in the chickpea flour in between cuts so that the dough doesn't stick to the cutter as much.
Drying Out Dog Grain-Free Dog Treats in the Oven
I found that baking these treats was not enough to dry them out, and baking them for too long burned the bottoms. To work around that, I baked these in the oven for 30 minutes only and then turned off the heat but left the treats in the oven for an additional 30 minutes to let the residual heat dry it out without burning it.
How to Store Grain-Free Dog Treats
These grain-free dog treats need to stay dry to be stored well. Do not store these in the fridge or in a well-sealed container since that might cause condensation and trap moisture in with the treats. The more airflow you have for storage the better. I like to store these in metal tins or ziplock bags (90% zipped). They can be stored for 1-2 months.
Looking for More Goodies for Pups? Try These!
If you like my recipes and want to be updated on when new ones come out, please consider subscribing to my newsletter (we don't spam) and follow along on Instagram, Facebook, and Pinterest for all of my latest recipes!
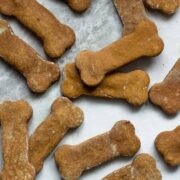
Homemade Grain Free Dog Treats (3 Ingredients)
Ingredients
- 1 ½ cups chickpea flour (165g)
- ½ cup peanut butter - natural (90g, no sugar or salt added, see notes)
- ½ cup pumpkin puree (145g)
Instructions
Making the Dough
- In a large bowl, combine the chickpea flour, puree pumpkin, and peanut butter with your hand and knead it until it forms a dough ball. If the dough feels very sticky, keep adding chickpea flour 1 tablespoon at a time until the dough is smooth and not sticky. It should be the consistency of play-doh.
- Once the dough has come together, cover it in plastic wrap and keep it in the fridge for 1 hour. This will make the dough stiffer and easier to cut shapes out of.
- Once the dough has been chilled in the fridge for an hour, take it out of the fridge and plastic wrap.
- Line a cookie sheet or baking pan with parchment paper and set it close by.
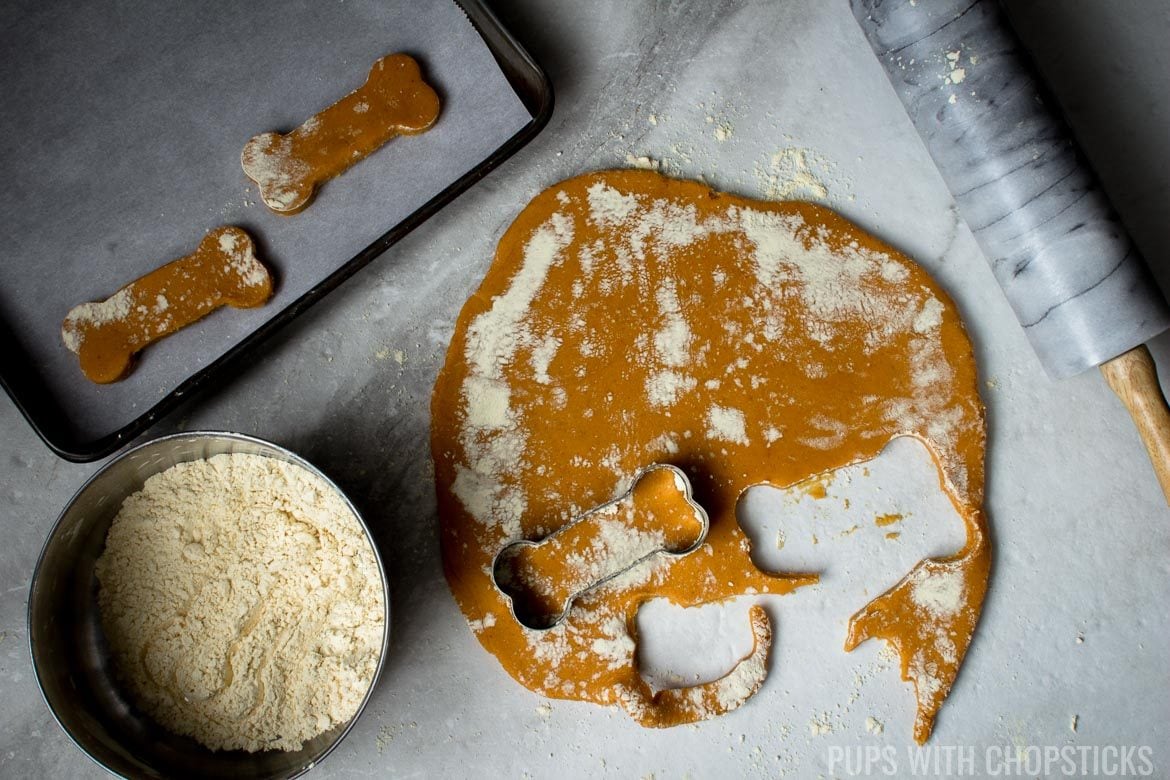
- Sprinkle chickpea flour liberally on the counter you are rolling out the dough on. Dust the rolling pin as well.
- Sprinkle a bit of chickpea flour on the dough and rub it gently on until there is a light coating on it, then roll out the dough to about ¼ inch to ½ inch thickness.
- (Note: If the dough is still sticky, it might stick to the counter - to address that, dust the dough frequently on both sides and flip it often while you are rolling it out)
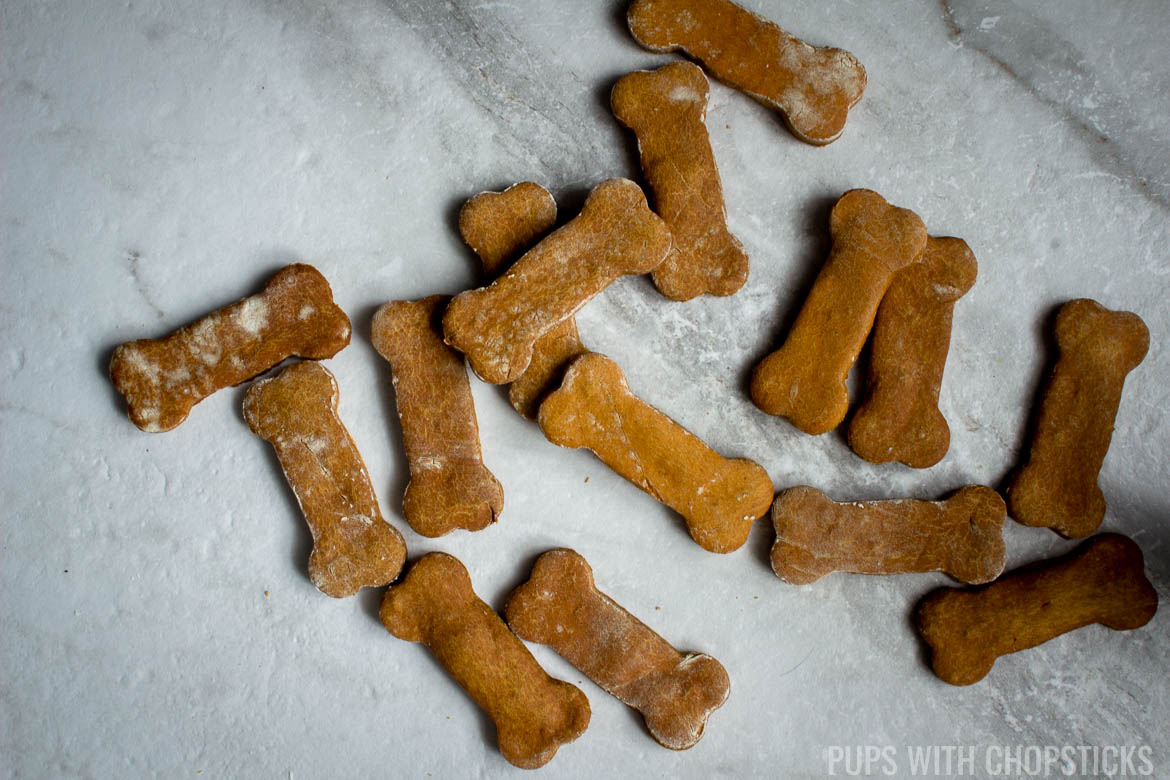
- Use a cookie cutter and cut out shapes in the dough. It is crucial to dip the cookie cutter in the chickpea flour in between each cooking cutting to prevent the dough from sticking to it. If you don't have a cookie cutter, you can cut them into squares or rectangles with a knife.
- Place the cut out shapes on the parchment paper with about ½ inch between each dog treat.
Baking & Drying it Out
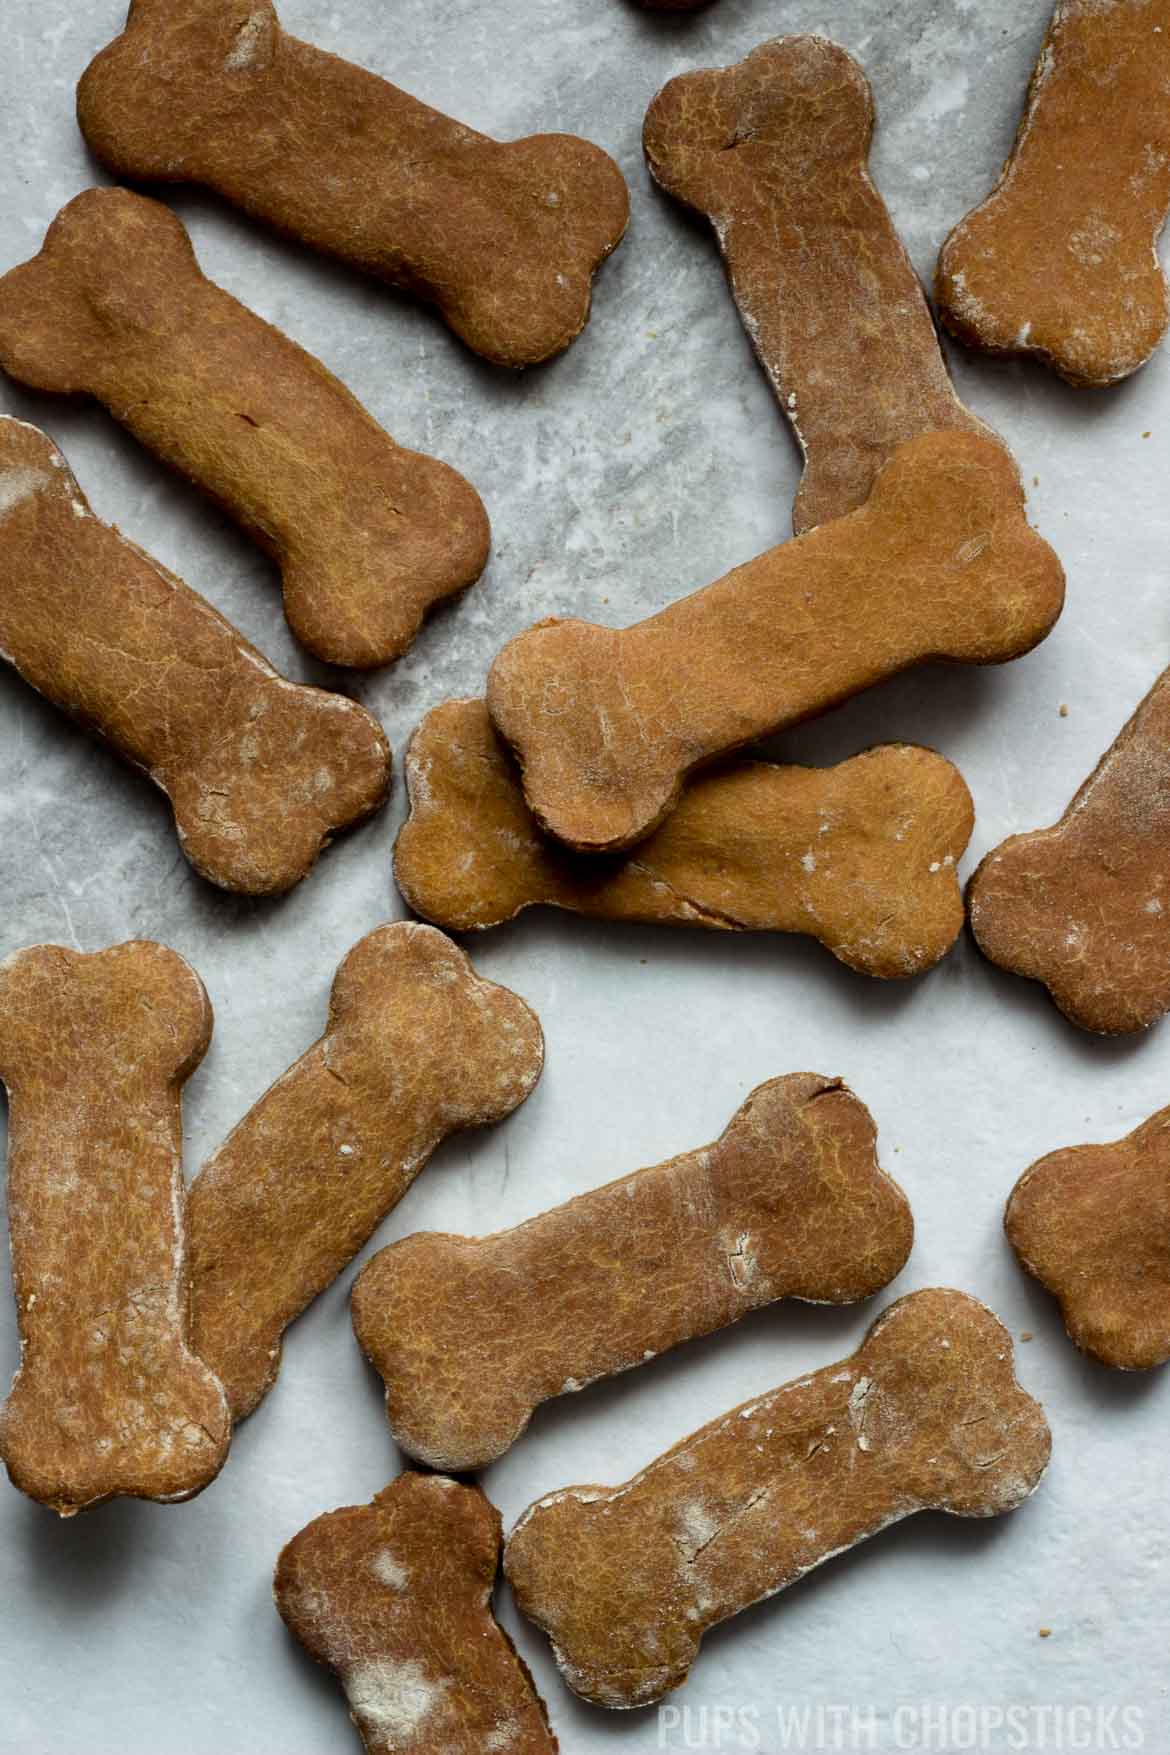
- Pre-heat the oven to 350F (177C).
- Bake the dog treats for 20-30 minutes.
- After 30 minutes have passed, if you have an electric oven turn off the oven and open the oven door ajar for another 20-30 minutes. (Electric ovens usually run hotter than gas ovens)If you have a gas stove, keep the oven door closed instead. We want to use indirect heat to dry out the dog treats so we don't burn the bottoms.
- Check the bottoms every 10 minutes to make sure they don't burn.
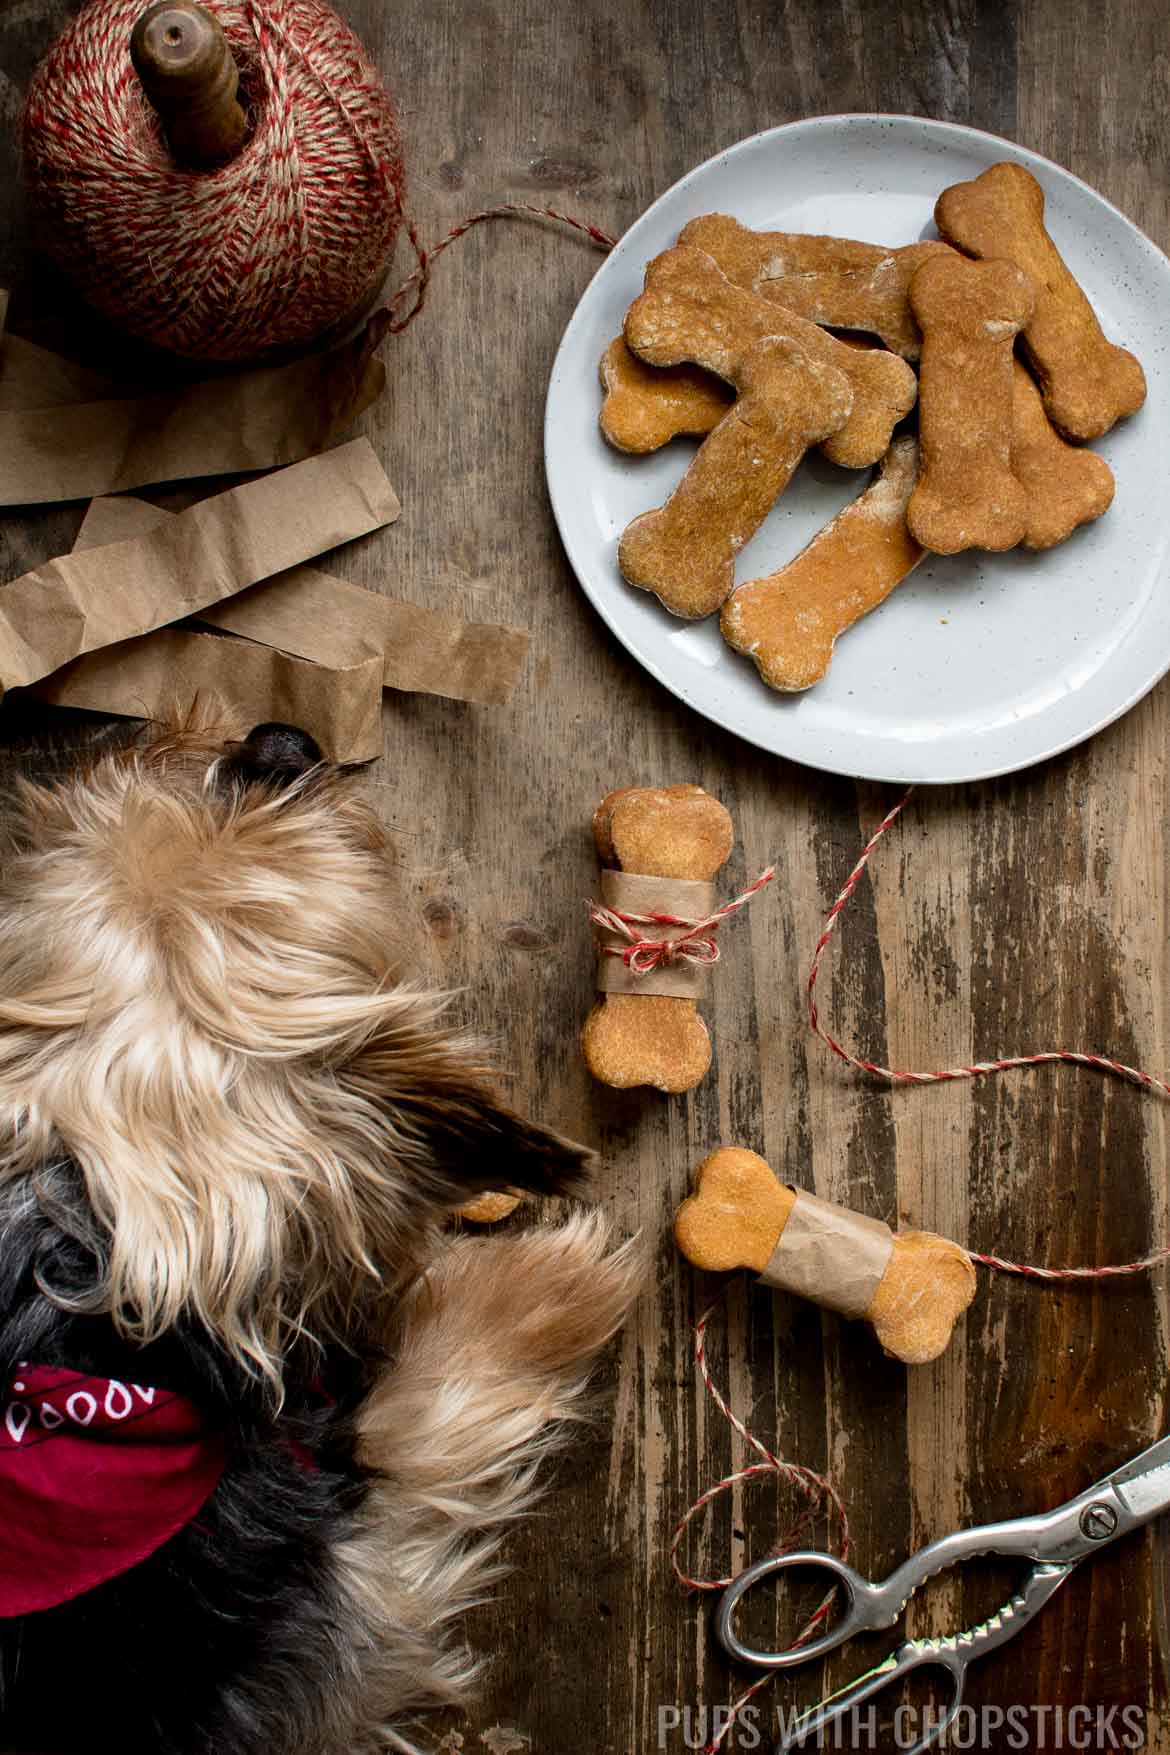
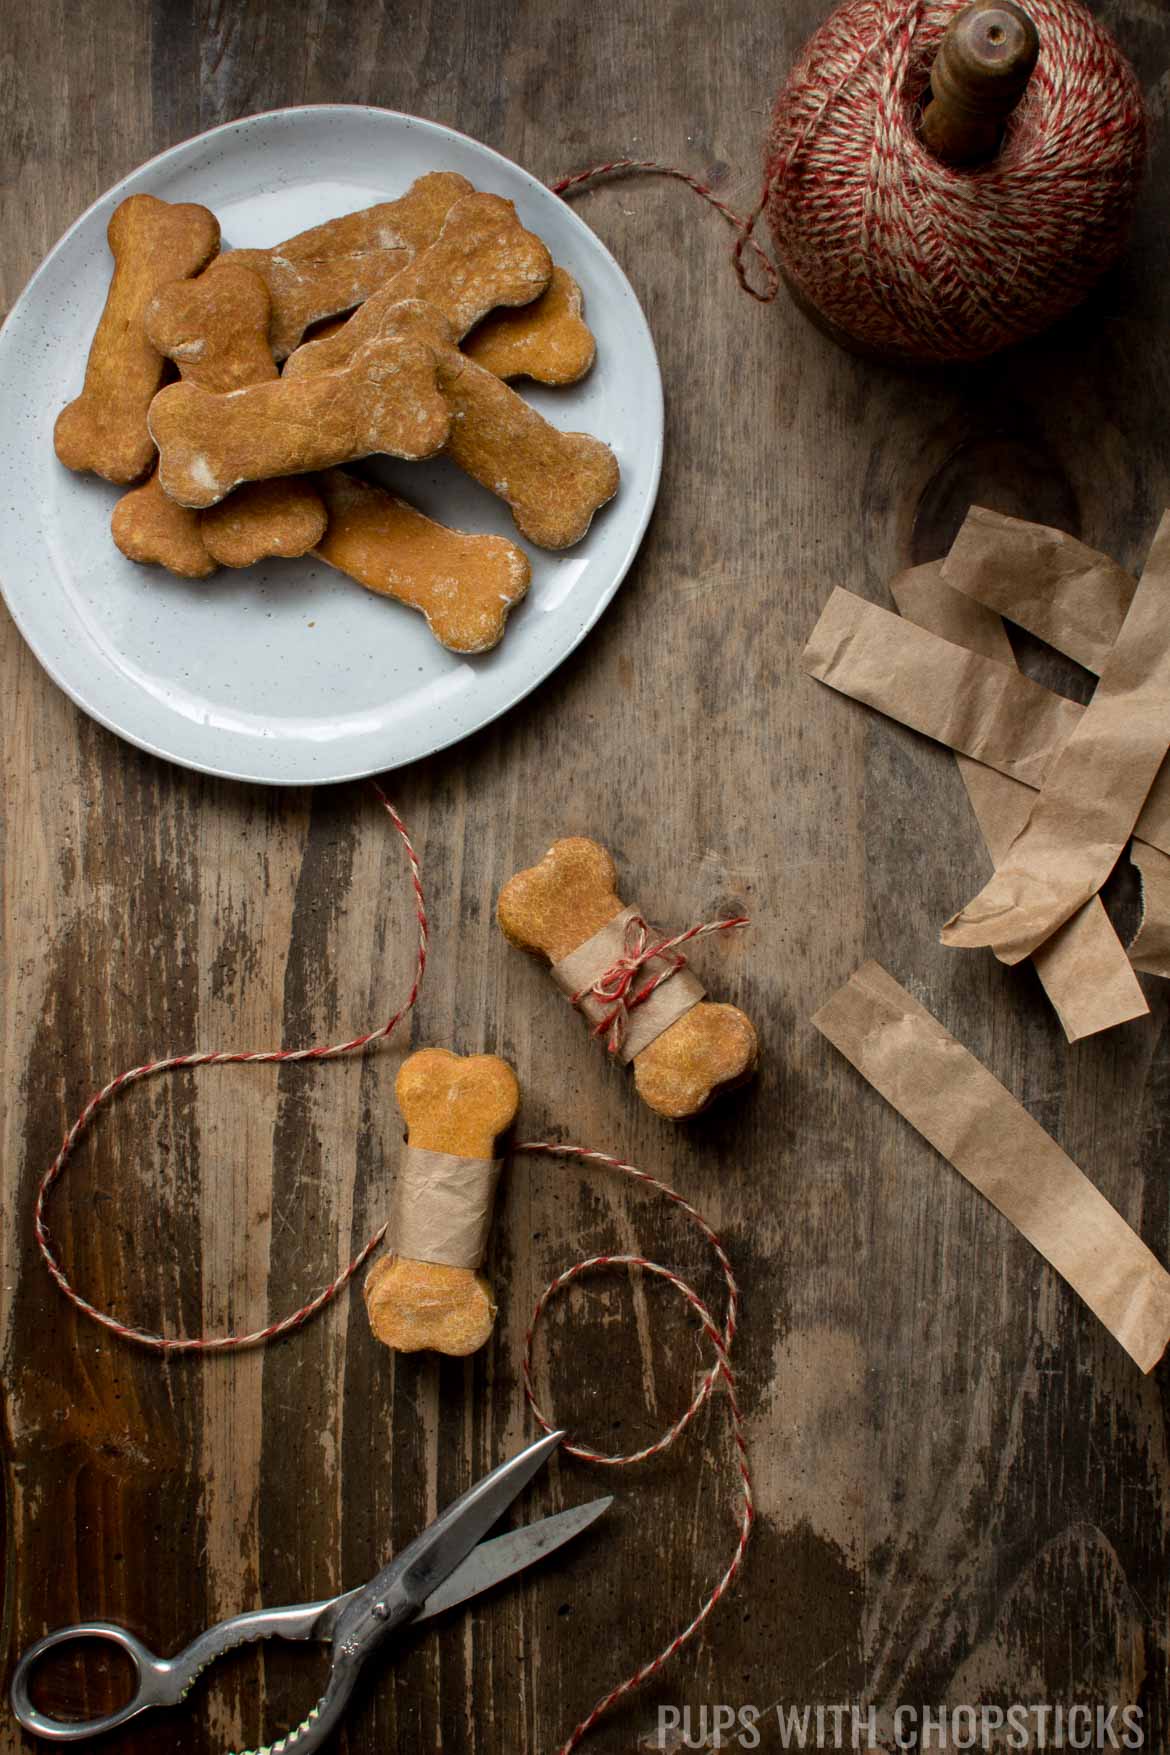
- Once they are done drying out in the oven, let them cool in room temperature for at least 5 hours. They harden and dry out more if you leave them out for a few days. I like to usually leave them on a large plate for a few days before storing them in a metal container.
Storing the Treats
- These can be stored in room temperature for 1-2 months, as long as there is good airflow to them. You don't want to put them in the fridge or an airtight container since it can create and trap moisture and cause them to go bad faster.
Notes
- When buying pumpkin puree, make sure it contains no sugar, xylitol or spices in it. It should be list 100% pumpkin puree on the ingredients label. We don't want to use pumpkin pie filling.
- Make sure to use 100% natural peanut butter (the kind where the oil and the peanut butter separate). The ingredient list should only contain peanuts, with no sugar, xylitol, salt, fillers or preservatives.
Nutrition
Disclaimer: We are a participant in the Amazon Services LLC Associates Program, an affiliate advertising program designed to provide a means for us to earn fees by linking to Amazon.com and affiliated sites. While I appreciate the support - please try to buy your items locally if possible to support your local shops (chances are they are cheaper locally as well!) 🙂
Joe says
We feed our fur babies homemade food also. 3 cups rice, 2 large chicken legs, lb of frozen carrots, lb of frozen peas. These cookies will make a healthy addition to our pups' food. we also fill and freeze cow shank bones with PB and give as a treat.
Joyce Lee says
Hi Joe!
Wow your pups must be so healthy!
Our pups at home have a lot of allergy issues so I completely understand why you would be making homemade food for them.
It looks like they get a lot of wonderful treats!
Please give them lots of pets and hugs for me! 😊 and I hope they like the treats!
Ellen Edwards says
Hi Joyce. Often times when I bake these, they turn out with more of a crackle effect. Not nice and smooth like those in your photos. Any idea what would be causing this?
Joyce Lee says
Hi Ellen!
Is it a hard and tough dough to roll out? It could be that the dough needs a bit more moisture. Try adding more pumpkin or water to the dough to make it moist and see if that helps. 😊
Hope this helps! Give your pup a hug and a pet for me!
Barbara Salazar says
My puppy loves these. I'm having problems with the consistency of the dough. It breaks up too much what am I doing wrong?
Joyce Lee says
Hi Barbara!
No you're not doing anything wrong. I find that not all chickpea flour absorb the same amount of water depending on how dried out they are. If they dough breaks up too much, you can try adding more liquid in the dough by adding more pumpkin, peanut butter or water until it is easier to roll out.
Also keep in mind that the dough should be a bit dry as well, that way we can easily dehydrate them in the oven while they are baking so they can store longer. It makes them crunchier too.
Please give a hug to your puppy for me! 🙂
Deb says
I couldn’t find chickpea flour in local markets, but I googled substitutes for chickpea and one was quinoa flour. I was able to find that, so I bought it. Do you think that will work?
Joyce Lee says
Hi Deb!
Apologies for the late reply. I have not tried using quinoa flour for this recipe, so I am not sure what the outcome will be like...
If you can't find it at your local markets you can also try finding chickpea flour from Indian supermarkets as well. They are labeled as Basan Flour, or Gram Flour.
Adriane says
Can these be stored in the freezer?
Joyce Lee says
Hi Adriane!
I have never tried storing them in the freezer before but I don't see why you cannot do that. I would store it in the freezer no longer than 3 months though.
When you defrost it, I would make sure you don't keep it in a sealed bag since there might be a bit of moisture trapped with it from the ice. Trapping it in the bag with moisture might cause it to mold, so I would keep it out for a day or so to dry it out completely.
Wendy says
Thanks for such an easy recipe. My dog goes nuts for these! Depending on how you cut them, it makes a lot (I use a tiny biscuit cutter, then cut those in half for little moon shapes). I had enough to share with her cousin and her fur friends. Puts my mind at ease that I know exactly what’s going in instead of reading/re-reading labels at the store! Thanks again!
Joyce Lee says
Hi Wendy!
Yay I'm so happy they liked them! I tend to cut mine a bit smaller as well since my guys are on the tiny side.
Don't worry, I know exactly what you mean, I spend hours reading labels at the store too haha! which is why I decided to make this recipe!
I'm glad I can help and please give your pup a head rub and a hug for me!