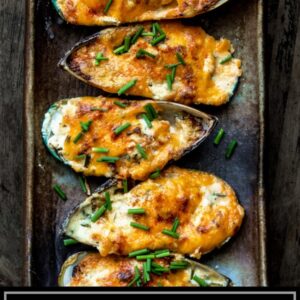
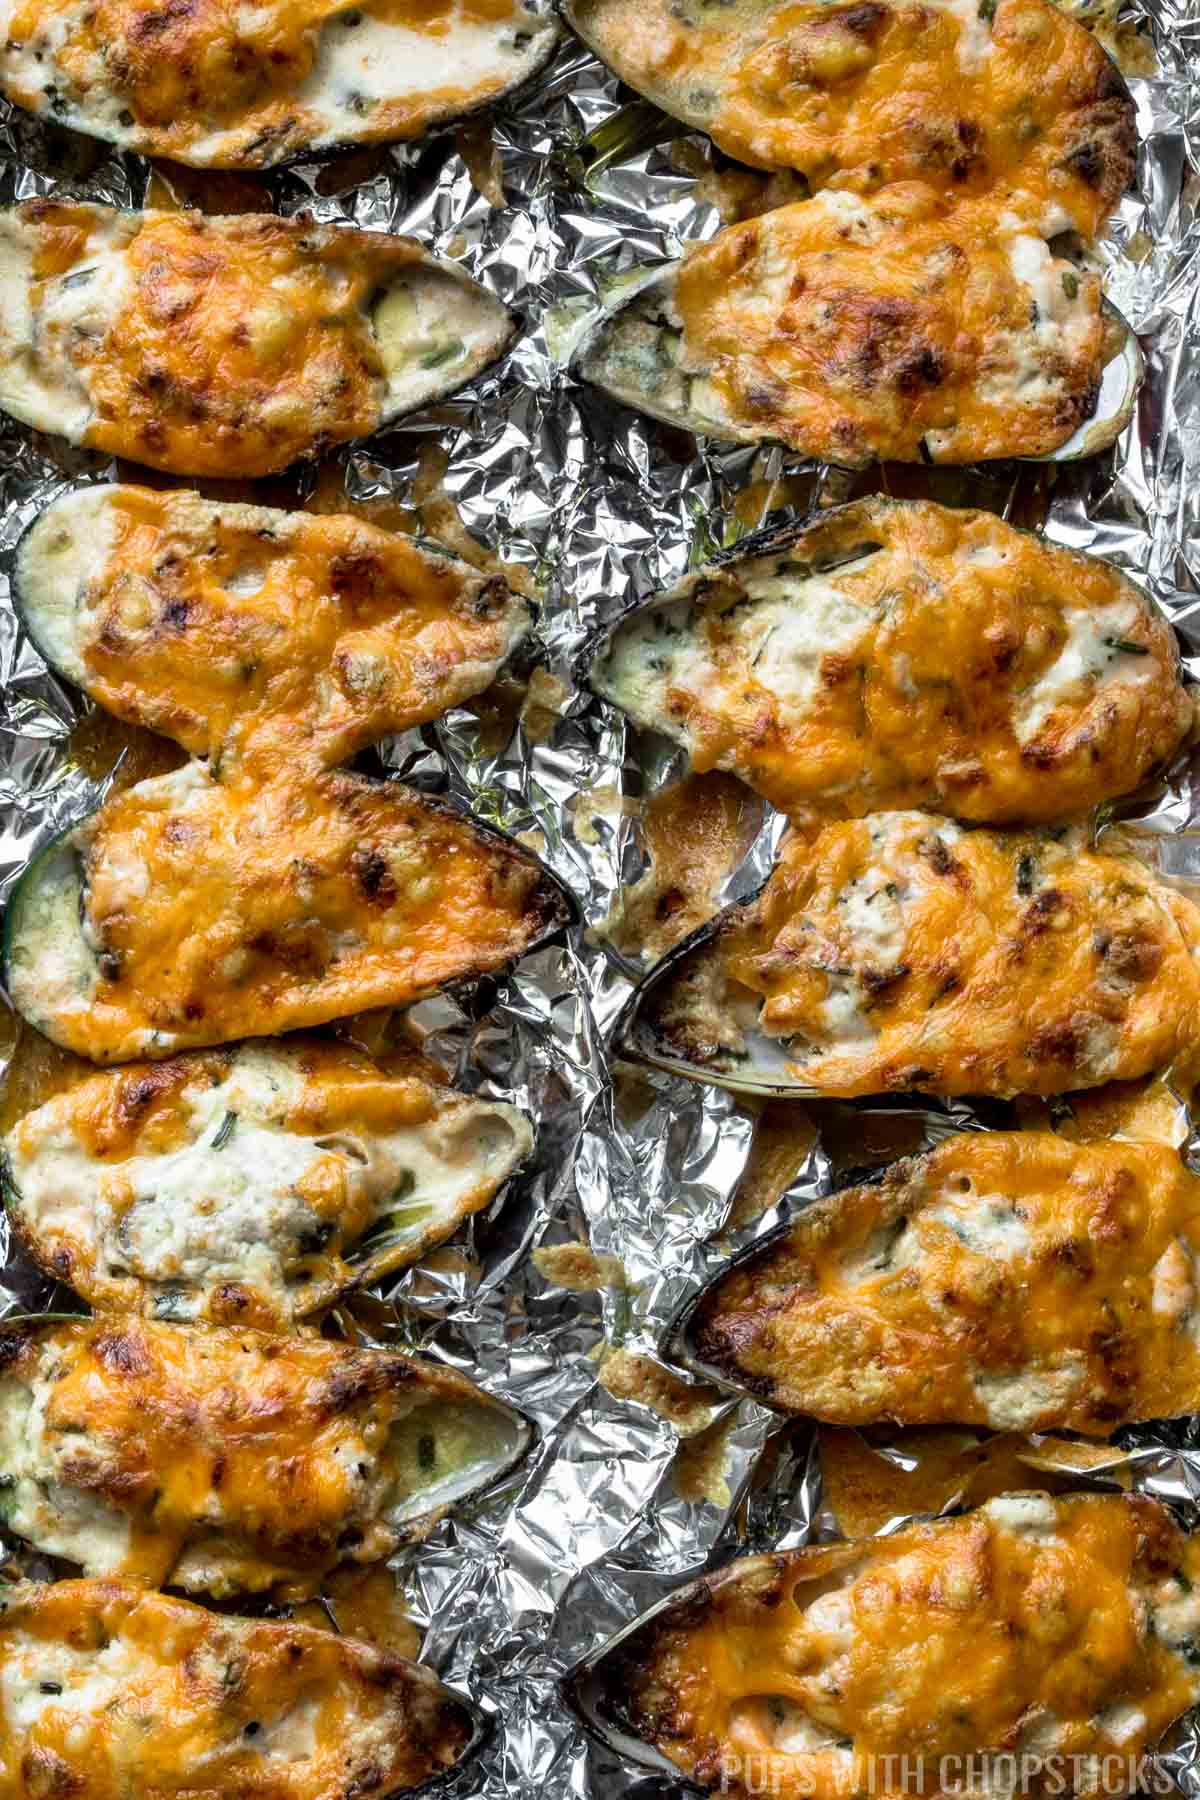
Super simple and easy to make garlic cheese baked mussels filled with a garlicky cream cheese topped with melted cheddar cheese! Fantastic as an appetizer or as a snack with some drinks with some friends and family!
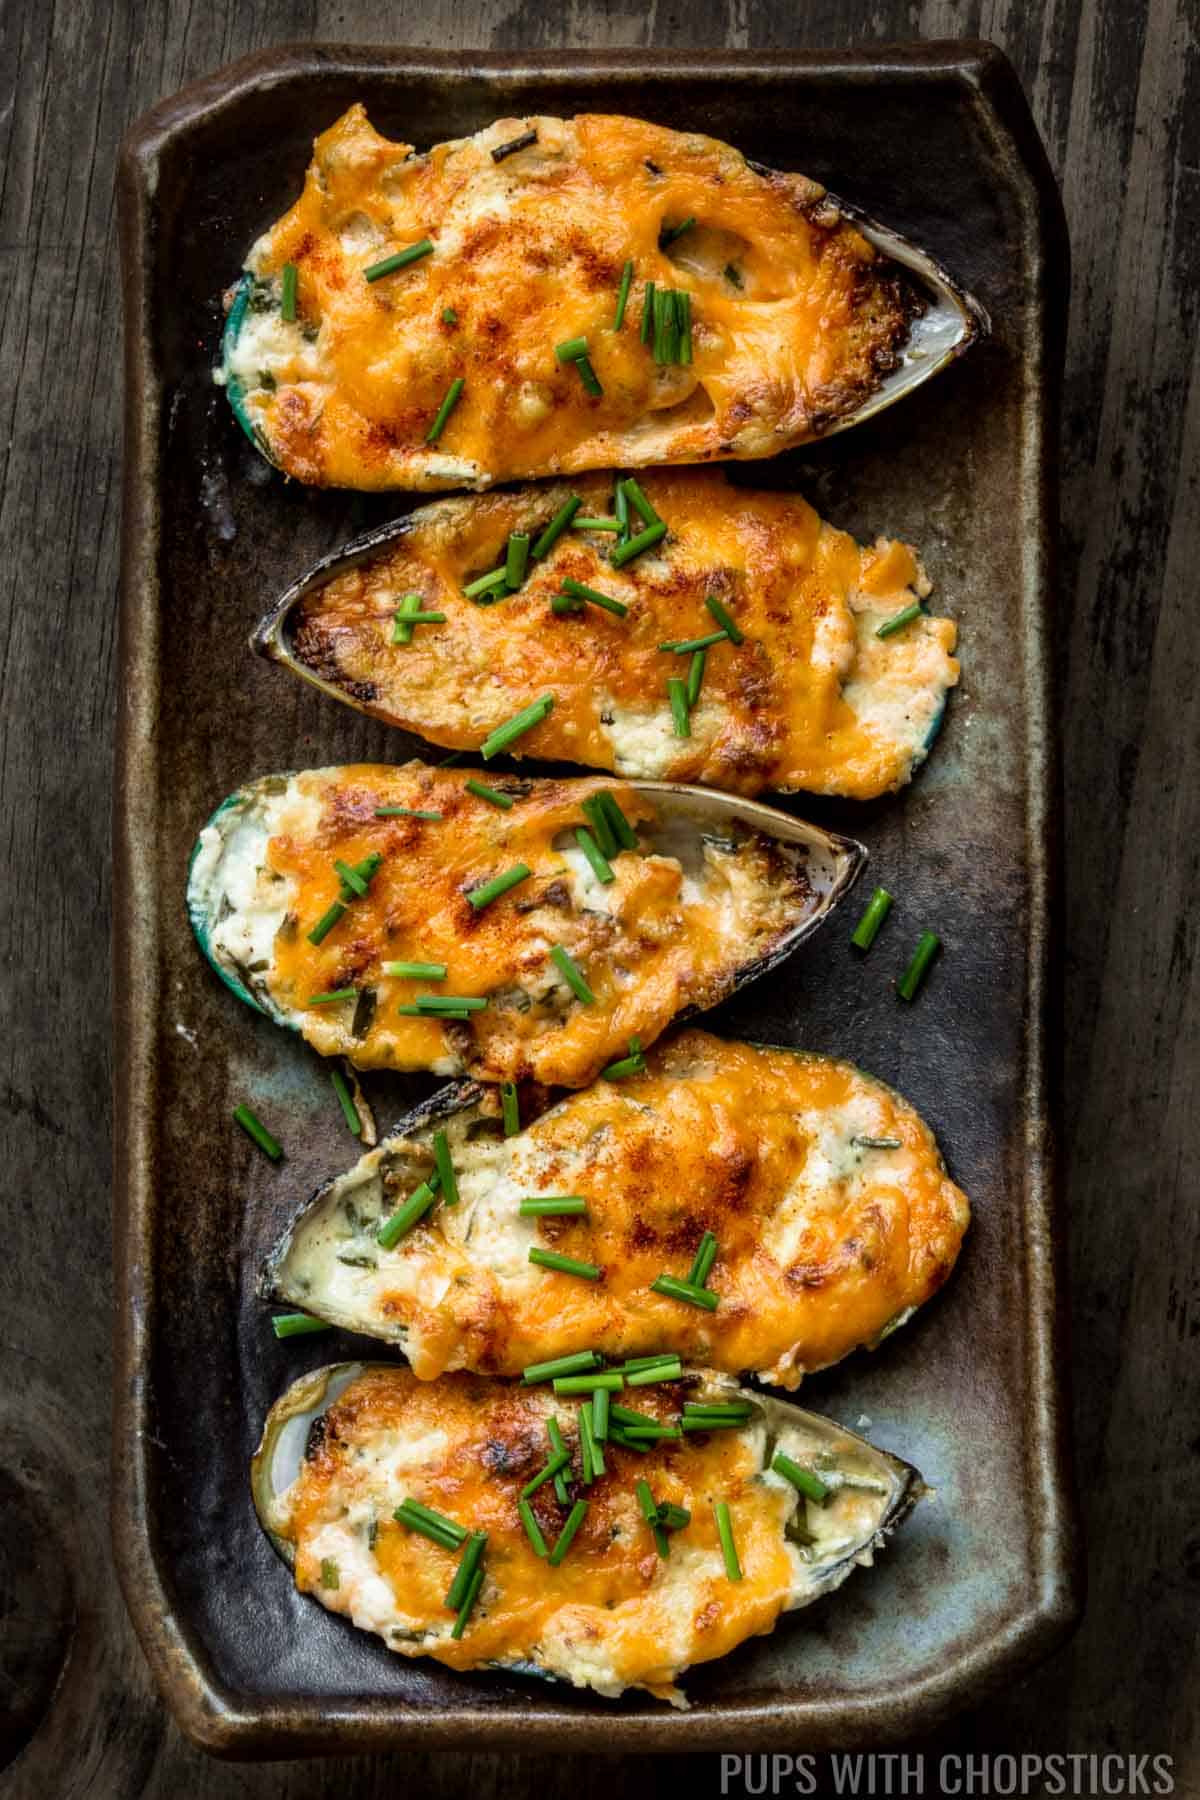
Table of Contents
- Why I Love These Baked Mussels with Cheese
- 🥘 Ingredients for Garlic Cheese Baked Mussels
- Difference Between Black Mussels vs Green Lipped Mussels
- 🥢 Joyce's Tips for Making Baked Mussels
- Filling the Garlic Cheese Baked Mussels
- How to Bake Mussels
- Baked Mussels Variations
- ❔ FAQs
- More Appetizer Recipes You May Like
- Recipe Card
If you're looking for a simple recipe for mussels baked with cheese and garlic, then you come to the right place!
These cheese-baked mussels (also known as baked tahong in Filipino cuisine) are always a very popular thing for me to order at restaurants, but I also love serving this to guests because they are so easy to make and very delicious. Especially when it is freshly hot from the oven and the cheese is melted and still gooey.
Why I Love These Baked Mussels with Cheese
- Easy to Make
- Flavorful, Delicious, and Cheesy - The cream cheese makes this creamy, and the aged cheddar gives it a lot of flavor. Combine it with garlic and it's a delicious combination! If you want cheese stretch you can add a bit of mozzarella too!
- Very Versatile - You can serve this at dinners, as a fancy appetizer, or make it as a snack if you love bite-sized seafood snacks!
🥘 Ingredients for Garlic Cheese Baked Mussels
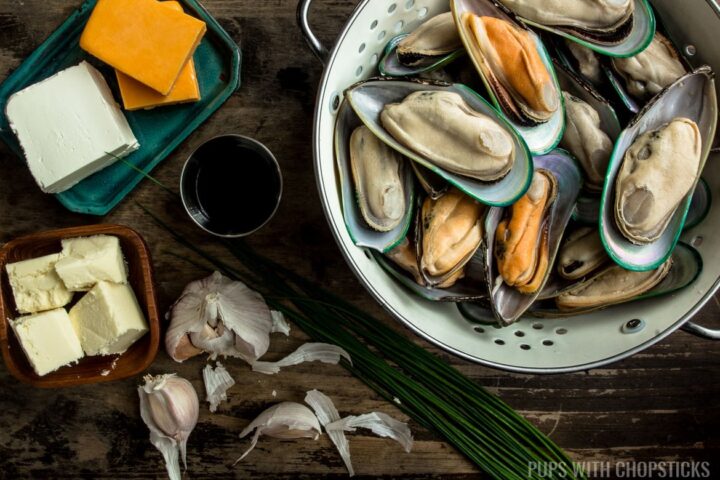
- Mussels - I like to use New Zealand green-lipped mussels for this recipe because I like how they are larger in size (more to eat!), and easier to cook with because it's technically already cooked and ready for you in a half-shell. You can usually find these green mussels in the frozen seafood section of your grocery store.
- Miso or Soy Sauce - To flavor the cheese filling, I like to use miso because of the added umami flavor. If you use miso, use white or yellow miso - it has a milder flavor that won't overpower the cheese. If you can't find miso, you can use soy sauce instead.
- Butter - I like to use unsalted butter for this recipe since we are already using miso/soy sauce as a source of sodium and we don't want to double up on the salt.
- Chives - Chives give the cheese a very mild oniony flavor. If you can't find it you can use green onions/scallions instead, but make sure to chop them very finely.
- Cream Cheese - I like to use the standard full-fat cream cheese for this recipe.
- Cheddar - For this recipe, I usually use aged cheddar. I find the older the cheddar, the more flavorful it is but any cheddar works well - even smoked cheddar!
Difference Between Black Mussels vs Green Lipped Mussels

The two most common types of mussels here in Canada are the black P.E.I mussels and green-lipped mussels.
Black mussels are usually found fresh in the seafood section of your grocery store and are raw but they can be found frozen. They are usually smaller in size compared to the green-lipped mussels and if they are raw they need to be cooked (either by boiling or steaming) ahead of time before using them in this recipe because it is the only way to get them to open up from within their shells.
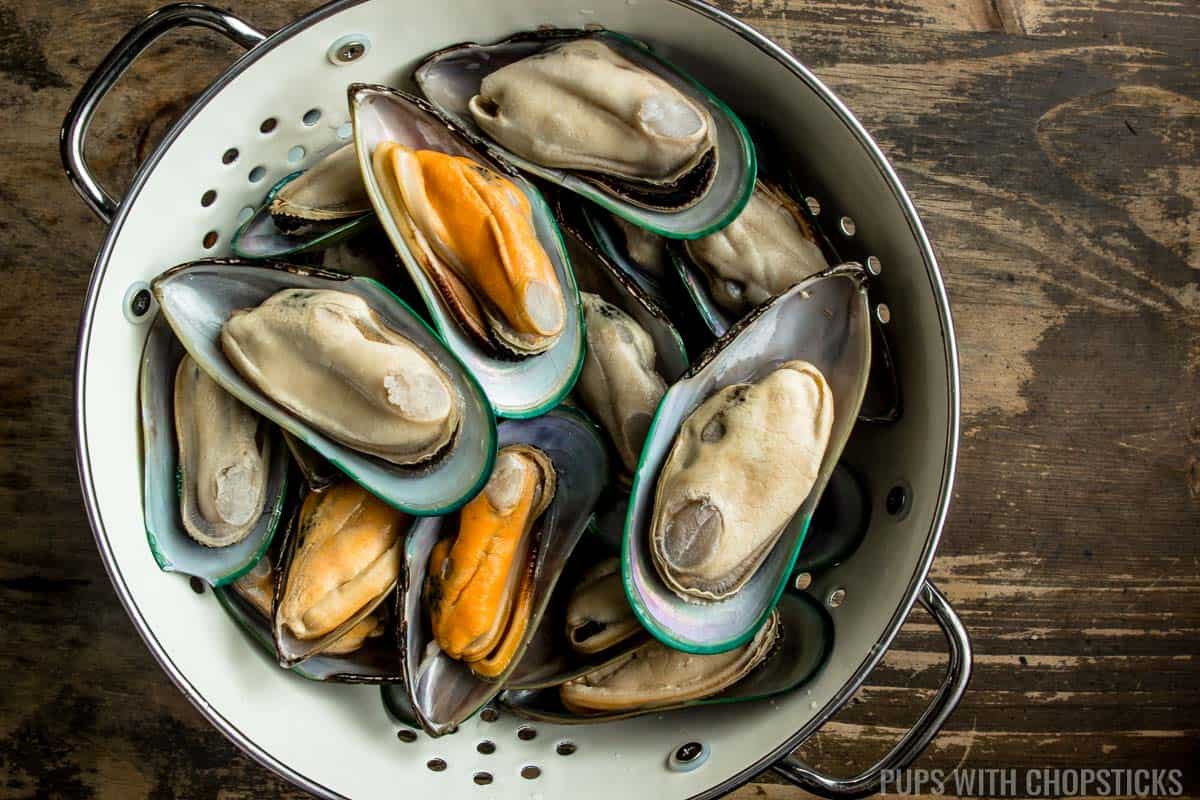
My choice of mussels for this recipe is the New Zealand green-lipped mussels because they are already pre-cooked and prepared for you in the half shell. They are also larger in size so I find that you get a lot more flavor in each bite as well because you can stuff it with more cheese and garlic.
You can usually find them in the frozen section in the seafood section of your grocery store. If you can't find them at your local grocery store then they would be in the freezer in an Asian grocery store.
🥢 Joyce's Tips for Making Baked Mussels
- If you decide to use raw black mussels for this recipe, discard any mussels that are opened all the way or that have broken shells - they will most likely be bad. After you cook them, discard any mussels that have not opened - they are usually bad as well.
- Before you fill the mussels with the cheese filling, pull the mussels out of the shell and place them back in the shell. This will make it easier to eat once the cheese has melted over the mussels because they will just pop right out.
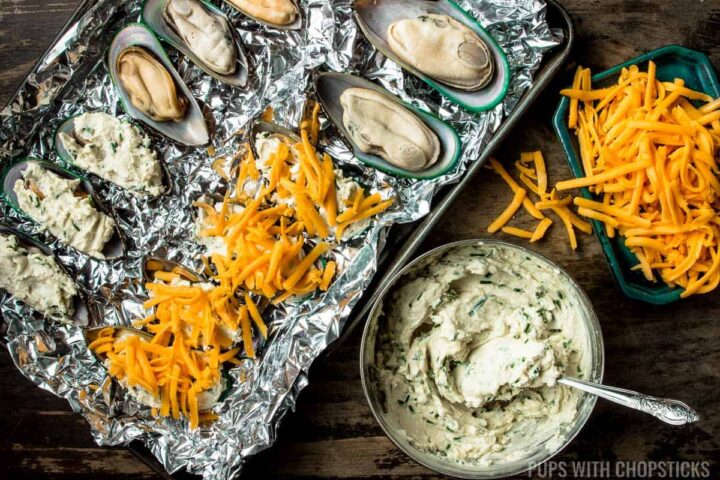
- Crinkle up the foil before placing the mussels on the tray. The extra grooves in the foil will help the mussels sit straight up and flat so that the mussels can't tilt sideways which will prevent the cheese from sliding out while it's baking.
Filling the Garlic Cheese Baked Mussels

To make sure the mussels don't wobble or tip over while it's cooking, I like to crinkle up tin foil and place it as a base underneath the mussels so they don't move around. The tin foil lets me adjust the shells into the foil grooves which keep them straight so that the cheese filling doesn't ooze out while it's cooking.
Before you add the cheese in, I like to pull the mussel out of the shell and then place it back in its original place. I find it makes eating these guys a lot easier once the cheese is baked in.
I use a heaping teaspoon of garlic cream cheese for each mussel and spread it on the mussel and throughout the shell, mainly focusing around the top and bottom part of the mussels where there is a large gap for me to put cheese in there. After you spread the creamy garlic cheese on top, top it with your cheddar!
How to Bake Mussels
These baked mussels with cheese are baked in the oven for about 10-15 minutes. Green mussels are generally already cooked, so we are basically warming them up in the oven so that the cream cheese melts.
Once the mussels have been baked in the oven for about 15 minutes, they are broiled for 4-5 minutes to brown the cheddar cheese that's on top which will give you that browned melted crusty cheese.
Baked Mussels Variations
- Japanese Baked Mussels (Dynamite Mussels) - Japanese baked mussels are creamier because it has less cheese and more Japanese mayonnaise (Kewpie Mayo) in the filling. It also is slightly spicy as well, from the Sriracha chili sauce that is mixed in with the mayonnaise.
- Baked Mussels with Garlic Butter - If you're looking for baked mussels with less cheese, you can replace the cream cheese with butter which will cook these mussels in melted garlic butter. I still like to top it with some grated cheese or parmesan on top right before I bake it for a bit more flavor.
❔ FAQs
If the mussels are slightly opened, I like to give them a squeeze. If they close up, then they are fine to use because they are still alive.
If the gap is about 2 millimeters or less I will still cook them by par-boiling them, if the mussel stays closed with a small gap then I will discard it.
If you are using P.E.I. mussels, then yes you should soak it for at least 30 minutes before using it. The mussels will take in the fresh water and remove some of the sand from inside the shell.
More Appetizer Recipes You May Like
- Bacon Cheeseburger Potstickers
- Crispy Cream Cheese Stuffed Jalapeno Poppers
- Crispy Candied Walnuts
- Crispy Cheung Fun (Rice Noodle Rolls) with Spicy Hoisin & Maple Sesame Sauce

If you made this Garlic Cheese Baked Mussel recipe, I want to see! Follow Pups with Chopsticks on Instagram, snap a photo, and tag and hashtag it with @pupswithchopsticks and #pupswithchopsticks. I love to know what you are making!
Stay connected and follow along on Facebook, Pinterest, Instagram, or subscribe to my newsletter for all of my latest recipes!
Recipe Card
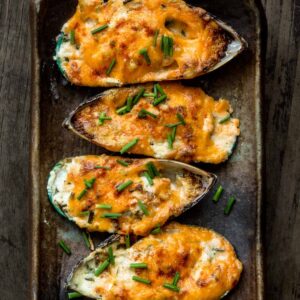
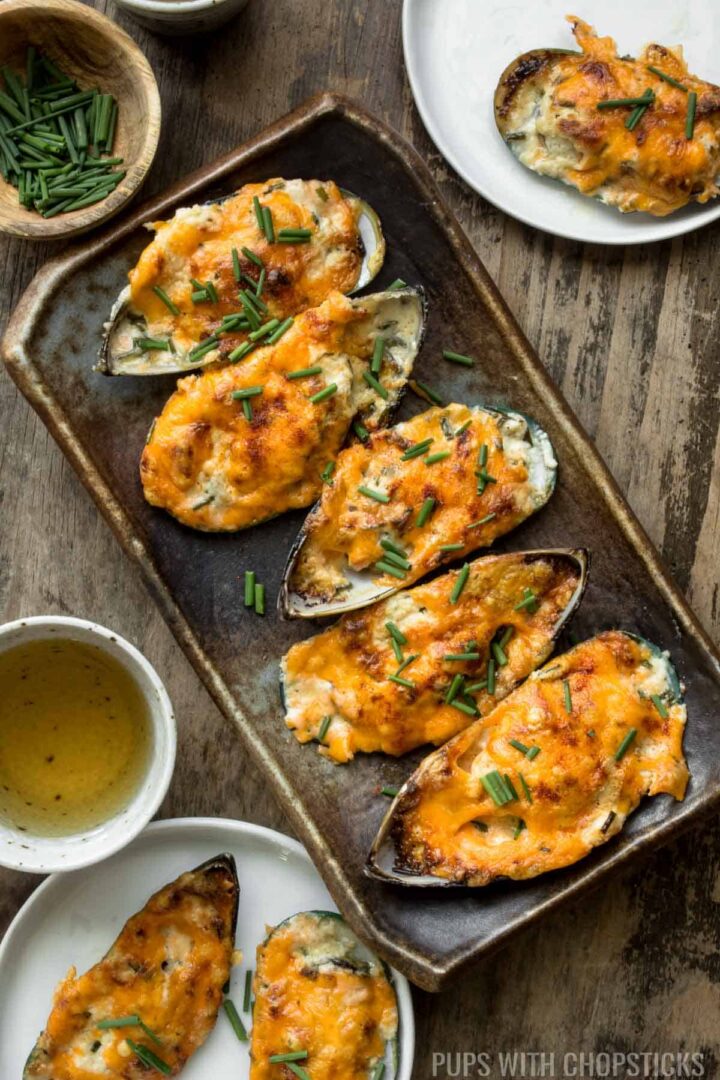
Garlic Cheese Baked Mussels
Joyce's Recipe Notes
- This recipe uses green-lipped mussels because I find them more flavorful, larger in size for more cheese, it has been already pre-cooked and ready to go in its half shell. If you decide to use raw black mussels for this recipe, you will need to pre-cook them by boiling them in hot water for 1 mintue to pop the shells open. Discard any mussels that have broken shells or if the shells are opened all the way - they will most likely be bad. After you cook them, discard any mussels that have not opened - they are usually bad as well, confusing eh?
- Depending on the type of cheddar cheese you use, I find that aged or old cheddar tend to be on the saltier side, so use it sparingly when topping mussels with it.
Ingredients
- 800 g green-lipped mussels
- 1 cup cheddar cheese (I like to use old cheddar or smoked cheddar)
Garlic Cream Cheese
- 2 ½ tablespoons garlic (finely chopped, approximately 7-8 cloves)
- ¼ cup of fresh chives (or green onions, finely chopped)
- ½ cup unsalted butter
- 250 g cream cheese (1 package)
- ½ tablespoon of miso or light soy sauce (if you use miso, use the white or yellow miso)
Instructions
Preparation
- Defrost the green-lipped mussels by running it under cold tap water for approximately 2-3 minutes and set aside (It will continue to defrost while you are preparing the rest of the ingredients)

- Remove the cream cheese from the fridge to soften.
- Finely chop or grate the garlic and set aside
- Finely chop the chives and set aside
- Grate the cheddar cheese and set aside

Making Garlic Cream Cheese
- In a small pot, melt the butter over medium-low heat. Once the butter has melted, let it simmer for an additional 2 minutes and keep stirring.
- Add in the garlic into the butter and let it cook for about 2 minutes. Keep stirring so that the garlic doesn't burn, it tends to burn closer to the edge of the pot.
- Once the garlic butter is done, turn off the heat and pour the garlic butter into a bowl.
- Add the cream cheese into the garlic butter and mash it with a fork until everything is combined together.
- Add in the chives and miso (or soy sauce) and mix it together. Set the garlic cream cheese aside for later.
Baking the Mussels in the Oven
- Pre-heat the oven to 350F
- Crinkle up the foil and unravel it on a cookie sheet or baking pan. (You may need to use 2 trays, depending on how many mussels you have) The extra grooves in the foil will help the mussels sit straight up and flat so that the mussels can't tilt sideways which will prevent the cheese from sliding out while it's baking.
- Gently squeeze each mussel against the shell over the sink or bowl to remove any excess water that ice may have left behind and place them on the foil.
- Once all the water has been removed, pull each mussel out of the shell and then place it back in its shell. This will make it easier to eat once the cheese has been baked onto the mussels.
- Spread approximately 1 heaping teaspoon of garlic cream cheese on each mussel, mainly focusing around the top and bottom part of the shell where there are large gaps. Place the mussel back on the foil. Adjust the mussels so they are sitting straight and are not tilted. We don't want any of that yummy cheese to slide off while it's baking.
- Sprinkle some cheddar over each mussel
- Put the tray of mussels in the oven on the middle rack and bake for 10-15 minutes
- Once it has finished baking, set the oven to broil, and broil it for 4-5 minutes to brown the cheddar. Make sure you are watching it during this step so they don't burn!
- Once the cheese starts to brown and bubble, it's done! Serve it right away while it's hot and cheesy!

Nutrition
*Nutritional information is calculated using online tools and is an estimate*
Disclaimer: We are a participant in the Amazon Services LLC Associates Program. As an Amazon Associate, I earn from qualifying purchases at no costs to you - these earnings help keep this blog running. While I appreciate the support – please try to buy your items locally if possible to support your local shops (chances are they are cheaper locally as well!) 🙂

Krissy says
I just made these for my Dad’s birthday dinner (his perfect meal is hors d’ouevres), and they were fantastic! I added some lemon juice and pepper in the cheese sauce for a little oomph. Absolutely delicious! Thank you for the great recipe! This will be a go to from now on.
Joyce Lee says
Hi Krissy!
I LOVE snacky meals, so I can totally relate! haha! 🙂
I'm SO happy everyone liked it! love the idea for the lemon juice, I definitely need to try this!
Happy belated birthday to your dad! 🙂 Hope he had a wonderful day!