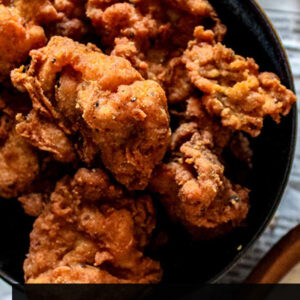
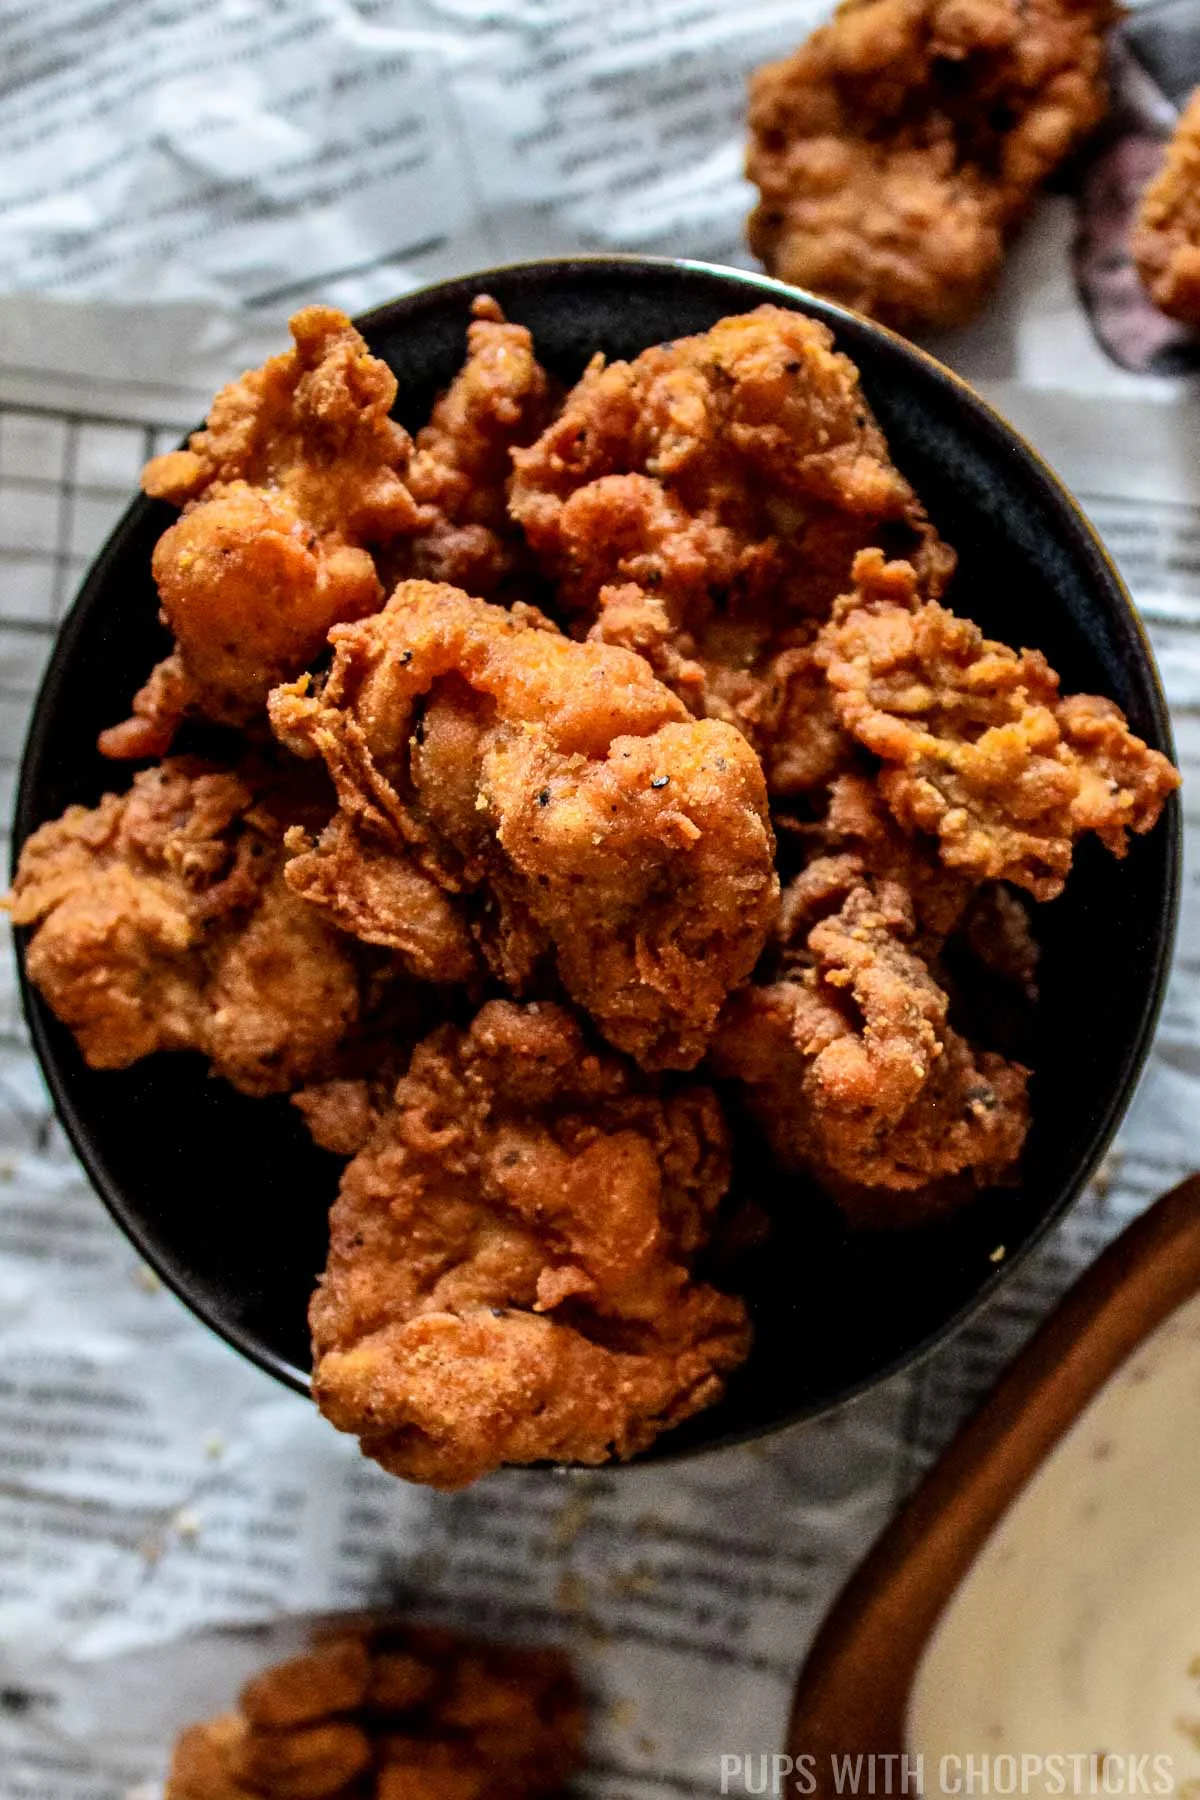
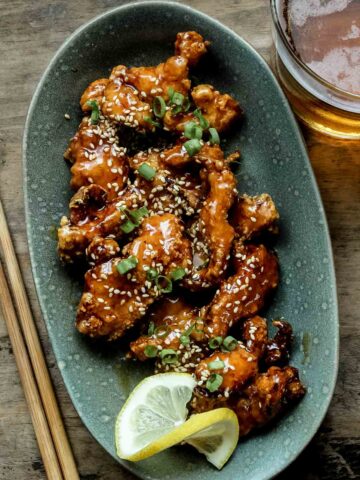
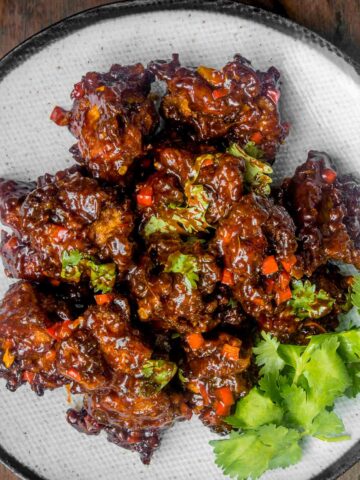
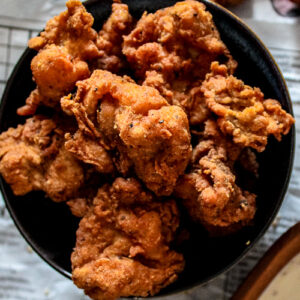
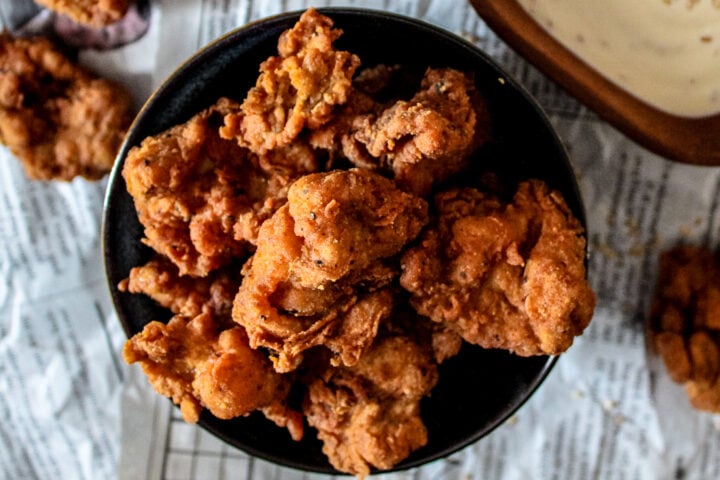
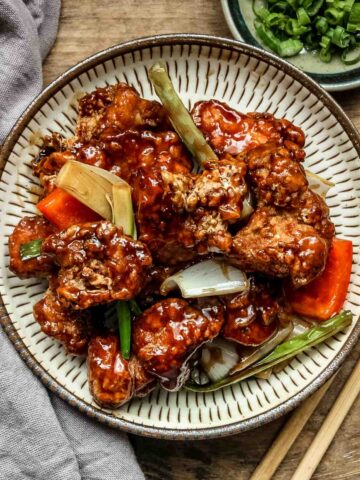
These bite sized buttermilk crispy chicken are super crispy and go amazingly with some sweet, creamy honey sesame dip. These buttermilk popcorn chicken are perfectly crunchy and delicious! Perfect for sharing as a snack or appetizer.
If you’re looking for a delicious crispy chicken recipe, then this buttermilk crispy chicken is what you need. The marinade adds a delicious flavor and makes them tender, and they’re then fried to perfection.
And if you’ve struggled with making delicious crispy buttermilk chicken bites, then this recipe and article will teach you everything you need to know to get that perfect crunch and flavor. It’s seriously restaurant-quality food in the comfort of your own home!
If you're looking for a super crunchy fried chicken recipe that uses bone in chicken, I also have my ultimate super crispy fried chicken as well that uses pure starch (cornstarch/potato starch) that creates an incredibly crunchy batter.
Read on to learn exactly how to make this delicious buttermilk crispy chicken recipe today!
What is Popcorn Chicken?
Buttermilk crispy popcorn chicken is a delicious chicken recipe that features tender pieces of chicken, cut into small bite-sized pieces, marinated in buttermilk, then coated in a flavorful flour and starch mixture and deep-fried to golden brown perfection.
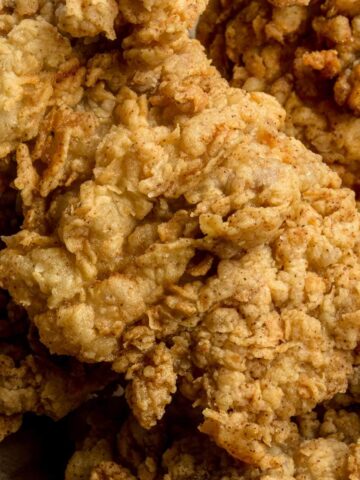
The buttermilk in the marinade not only tenderizes the chicken but also adds a tangy flavor that perfectly compliments the savory coating. The result is a dish with a crispy exterior and juicy, delicious interior.
Since the chicken is cut into small pieces, and deep fried with a crispy batter, they resemble popcorn, which is where the name comes from! They are essentially nuggets with more crispiness.
These little bite-sized fried chickens are incredibly versatile too! You can serve it as a main dish with your favorite sides, or you can use it to make sandwiches or salads.
And let's not forget the taste! The combination of buttermilk marinade, delicious coating, and juicy chicken makes this dish incredibly tasty. It’s the kind of comfort food that will have you coming back for seconds or even thirds!

Why You’ll Love This Buttermilk Crispy Chicken Recipe
- Easy to Make: This buttermilk crispy chicken recipe is pretty simple. All you need to do is marinate the chicken in buttermilk, salt, and water, coat it in a flavorful dry mix, and fry it up. Even if you're new to frying, the instructions are easy to follow.
- Quick: While the chicken does need to marinate for a few hours, the actual cooking process is quick. The double frying method ensures that the chicken cooks quickly and evenly, without absorbing too much oil.
- Delicious and a Great Snack: These bite-sized chicken comes out juicy on the inside and crispy on the outside, with a delicious flavor from the garlic, onion, and paprika in the dry mix.
- Versatile: You can use this recipe for any cut of boneless chicken, whether it is thighs, breasts, or tenders. It is also perfect for sandwiches, salads, or just eating on its own with some dipping sauce.
- Crispy: The combination of buttermilk, spices, and Korean double frying method gives this chicken a flavor that's hard to beat and is extra crispy, especially with the starch mixed into the flour.
Ingredients You’ll Need to Make Buttermilk Crispy Chicken

Buttermilk Marinade:
- Boneless Chicken Thighs: These are the star of our buttermilk fried chicken recipe. They are juicy, flavorful, and perfect for frying. You can also use breasts, tenders, drumsticks, or wings, just adjust cooking times accordingly.
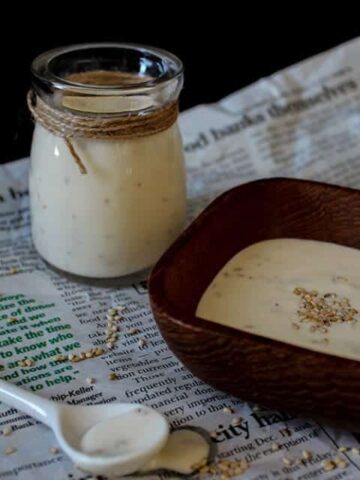
- Buttermilk: This is the key to the marinade. It tenderizes the chicken, giving it a juicy, tangy flavor. Combined with water and salt, it makes for a perfect brining solution.
- Salt: Enhances the flavor of the chicken and plays a crucial role in the marinade, helping to tenderize the meat.
Wet Mix:
- Eggs: Used in the wet mix, they help the dry mixture adhere to the chicken, creating a crispy crust when fried.
Dry Mix:
- Potato Starch: This ingredient in the dry mix contributes to the extra crispy exterior of the chicken. If unavailable, cornstarch can be used, but the result may not be as crispy.
- All Purpose Flour: It forms the base of the dry mix, creating a crust for the chicken when combined with the other ingredients.
- Garlic Powder, Onion Powder, and Paprika: These spices add a punch of flavor to the flour mixture, giving the chicken a nice depth of garlicky and onion flavor.
- Cayenne Pepper: An optional ingredient, adds a spicy twist to the chicken. Adjust according to your heat preference.
- Ground Pepper and Cumin: These spices bring a warm, earthy flavor to the chicken, complimenting the other ingredients in the dry mix.

How to Make Buttermilk Crispy Chicken (Step by Step)
Making this incredible buttermilk crispy chicken recipe at home is super easy and will give you great results every single time. Here's how to make it step by step:
Preparation of Chicken
Prepare the Chicken: Cut the chicken into 1-inch sized chunks and place them in a large bowl or ziploc bag with 1 cup of buttermilk, water, and salt.
Marinate the Chicken: Refrigerate the chicken for a minimum of 4 hours. However, for the best flavor, it is recommended to leave it overnight.
Mixing the Batter
Beat the Eggs: In a medium-sized bowl, beat the eggs and set them aside for later.
Mix the Dry Ingredients: In another bowl, combine all the spices, starch, and purpose flour together and set aside. This will be your flour mixture for the batter.
First Round of Deep Frying

Set the Temperature: If you're using a deep fryer, set it to 350F. If you're using a high wall pot over the stove, set the heat to medium.
Coat the Chicken: One by one, take each chicken piece and lightly dredge it in the flour mixture, shaking off the excess flour. Then coat it with the egg mixture, and coat it again in the flour mixture. If you want a thicker batter, you can repeat the egg and flour mixture steps a few more times.
Deep Fry the Chicken: In batches, deep fry the chicken for 1 minute. Be careful not to overcrowd the pan, which can drop the oil temperature.
Drain Excess Oil: Allow the fried popcorn chicken to rest on parchment paper or brown paper bags to absorb excess oil.
Second Round of Deep Frying
Adjust the Temperature: If you're using a deep fryer, set it to 375F. If you're using a high wall pot over the stove, set the heat to medium.
Fry the Chicken Again (Double Fry): Add the chicken back into the oil and cook it for 3-4 minutes until it turns golden brown.
Drain and Cool: Let the chicken cool on newspaper, parchment paper, or brown paper bags. Enjoy!

Joyce’s Tips For Making the Best Buttermilk Crispy Chicken
- Marinate the Chicken: For maximum flavor, make sure to marinate the chicken pieces in the buttermilk mixture for at least 4 hours, or preferably overnight. This will tenderize the meat and infuse it with a rich, tangy flavor.
- Double Dredge for Extra Crispiness: For a super crispy crust, dredge the chicken in the flour mixture, dip it in the egg mixture and then dredge it again in the flour mixture. This creates a thick, crispy batter that will hold up well to frying.
- Use the Right Oil Temperature: Don't set the oil temperature too low or too high. A low temperature can result in soggy, oily chicken, while an overly high temperature can cook the outside too fast, leaving the inside raw. Aim for a temperature of 350 F for the first fry and 375 F for the second fry.
- Use High Smoking Point Oils to Deep Fry: I prefer to use peanut oil however peanut oil may be hard to find, there are a lot of allergies around it and sometimes it can be quite pricey. An good alternative to peanut oil would be canola oil or vegetable oil which have higher smoking points which means they can deep fry at a higher temperature for a crispier batter.
- Don't Overcrowd the Pan: When frying, be careful not to overcrowd the pan. Overcrowding can drop the oil temperature and lead to uneven cooking. Fry the chicken in batches for best results.
- Double Fry for Perfect Texture: To achieve a golden brown, crispy exterior and a fully cooked interior, double fry your chicken. The first fry lightly cooks the chicken and sets the batter, while the second fry crisps up the exterior and finishes cooking the chicken.
- Don't Fry Chicken Straight From the Fridge: If you deep fry cold chicken, you will get a crispy and cooked chicken on the outside, with a chance of it being raw in the middle because the heat won't be able to penetrate the middle quick enough to cook the chicken at an even temperature. Make sure you take the chicken out, at least an hour before you start deep frying it.
Serving Suggestions
- For a classic Southern-style meal, serve your buttermilk fried chicken with a side of creamy mashed potatoes, oven garlic roasted potatoes or crispy pan fried potatoes with a generous helping of gravy. The rich flavors of the gravy and potatoes perfectly compliment the crispy, golden brown chicken.
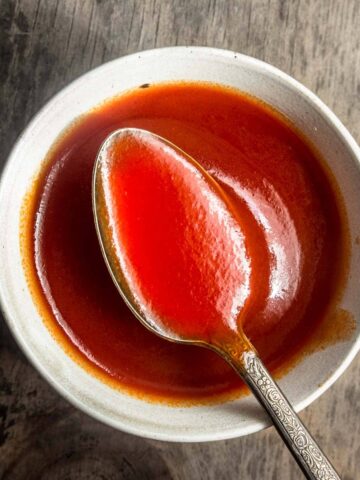
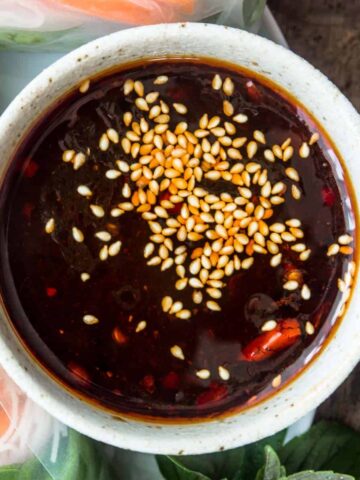
- Want to spice things up? Try drizzling some hot sauce over your chicken for an added twist. The heat from the sauce pairs wonderfully with the tender, juicy chicken and the crispy, flavorful coating. Alternatively, you can also use spicy sriracha mayo as a dip as well, and if you're looking for a lighter, tangier spicy dip, I love to use Vietnamese nuoc cham as well which is like a sweet and spicy vinaigrette.
- Buttermilk crispy chicken also makes a great filling for sandwiches. Just slice up your chicken, add some pickles and cheese, some coleslaw and sandwich it all between two slices bread. It is a delicious and satisfying lunch option that's sure to hit the spot.
- Toss it with a bit of miso butter when it's fresh and hot out of the deep fryer for some serious umami flavor! Alternatively, you can also toss it with some miso garlic chili oil as well!

Recipe Variation Ideas for Buttermilk Crispy Chicken
This delicious buttermilk crispy chicken recipe is so flavorful and easy to make, you'll want to try out some of these delicious variations! Here are some great ideas:
- Add Fried Basil Leaves and Chinese Five Spice: To make it a Taiwanese popcorn chicken, add ½ teaspoon of Chinese five spice to the dry mix, and deep fry a few basil leaves for a few seconds and toss it with this fried chicken for an extra aromatic popcorn chicken!
- Go for a Smoky Flavor: Add a teaspoon of smoked paprika to the flour mixture for a smoky twist on the classic recipe. This will give your buttermilk fried chicken a subtle smoky flavor that pairs wonderfully with the creamy buttermilk marinade.
- Try Air Frying: If you're health-conscious but still crave the golden brown goodness of fried chicken, try air frying! This method requires less oil and is a healthier alternative to deep-frying, while still achieving that desired crispy texture.
Frequently Asked Questions
Absolutely! You can substitute chicken thighs with breasts, drumsticks, wings, or tenders. The cooking time might vary slightly depending on the size and thickness of the pieces. Always make sure that your chicken is cooked through by using a thermometer, it should read 165°F.
Buttermilk is recommended as it tenderizes the chicken and adds flavor. If you don't have buttermilk, you can make a simple substitute by adding 1 tablespoon of lemon juice or vinegar to 1 cup of milk and let it sit for a few minutes.
Vegetable oils like canola, sunflower, or peanut oil are great for frying because they have a high smoke point. It is important to use an oil with a high smoke point to avoid the oil burning and ruining the flavor of the chicken.
Make sure that the oil is at the right temperature before you start frying. Too low, and the chicken will absorb too much oil and become soggy. Too high, and the outside will cook too quickly, leaving the inside undercooked. Using a thermometer can help you keep a check on the oil temperature.
For extra crispy chicken, try double-dredging the chicken pieces in the flour mixture before frying. This means coating the chicken in the flour mixture, then the egg, and then the flour mixture again. You could also let the chicken sit for a few minutes after the first dredge to allow the flour to absorb the liquid and become more "glue-like".

How to Store Leftover Buttermilk Crispy Chicken
- Refrigerating: You can store leftover fried popcorn chicken in the fridge for up to three days in an airtight container.
- Reheating: Preheat your oven to 375°F (190°C), place the chicken on a baking sheet, and heat for about 10-15 minutes. Be sure not to overcook it; you don't want your chicken dry.
- Freezing: I don’t recommend freezing since it’ll lose the crispiness when thawed. It’s best to enjoy this buttermilk crispy chicken fresh.
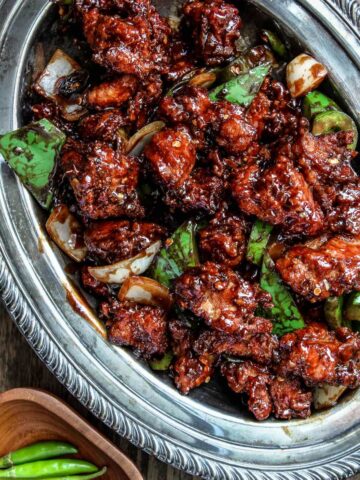
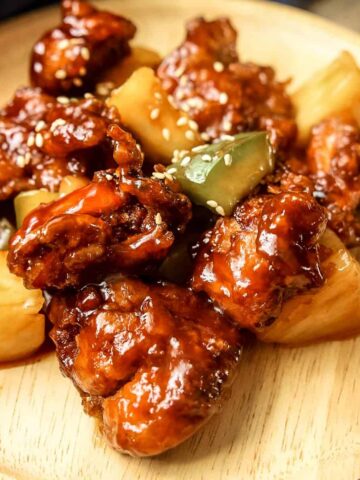
More Crispy Fried Chicken Recipes You May Like
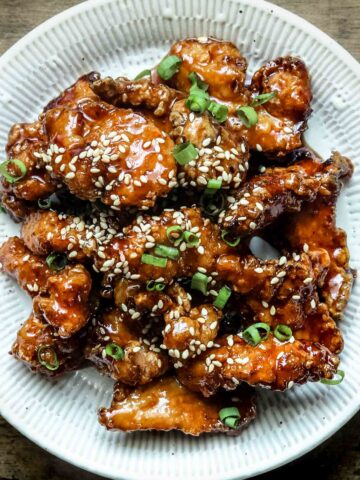
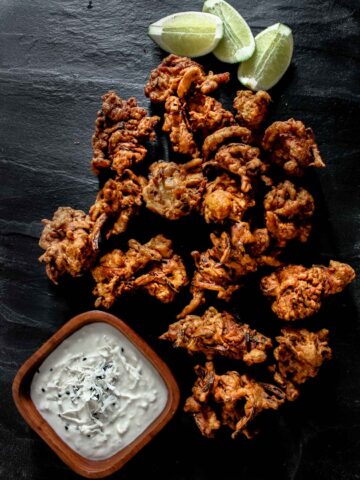
Dips To Pair with These Buttermilk Chicken Bites

If you made this buttermilk crispy popcorn chicken recipe, I want to see it! Follow Pups with Chopsticks on Instagram, snap a photo, and tag and hashtag it with @pupswithchopsticks and #pupswithchopsticks. I love to know what you are making!
If you want to be notified when I make new recipes, consider subscribing to my newsletter (we don't spam) or follow along on Instagram, Facebook, and Pinterest for all of my latest recipes!
Recipe Card
Crispy Buttermilk Popcorn Chicken
Joyce's Recipe Notes
- Marinate the Chicken For a Mininum of 4 hours: For maximum flavor, make sure to marinate the chicken pieces in the buttermilk mixture for at least 4 hours, or preferably overnight. This will tenderize the meat and infuse it with a rich, tangy flavor.
- Use the Right Oil Temperature: Don't set the oil temperature too low or too high. A low temperature can result in soggy, oily chicken, while an overly high temperature can cook the outside too fast, leaving the inside raw. Aim for a temperature of 350 F for the first fry and 375 F for the second fry.
- Use High Smoking Point Oils to Deep Fry: I prefer to use peanut oil however peanut oil may be hard to find, there are a lot of allergies around it and sometimes it can be quite pricey. An good alternative to peanut oil would be canola oil or vegetable oil which have higher smoking points which means they can deep fry at a higher temperature for a crispier batter.
- Don't Overcrowd the Pan: When frying, be careful not to overcrowd the pan. Overcrowding can drop the oil temperature and lead to uneven cooking. Fry the chicken in batches for best results.
- Double Fry for Perfect Texture: To achieve a golden brown, crispy exterior and a fully cooked interior, double fry your chicken. The first fry lightly cooks the chicken and sets the batter, while the second fry crisps up the exterior and finishes cooking the chicken.
- Don't Fry Chicken Straight From the Fridge: If you deep fry cold chicken, you will get a crispy and cooked chicken on the outside, with a chance of it being raw in the middle because the heat won't be able to penetrate the middle quick enough to cook the chicken at an even temperature. Make sure you take the chicken out, at least an hour before you start deep frying it.
Ingredients
Buttermilk Marinade
- 6 boneless chicken thighs (or any cut of boneless chicken)
- 1 cup buttermilk
- ¼ cup water
- 1 tablespoon salt
Wet Mix
- 2 eggs
Dry Mix
- ¼ cup potato starch or potato flour (can be substituted with corn starch, but it won't be as crispy)
- ¾ cup all purpose flour
- 3-4 teaspoons garlic powder
- 1 ½ teaspoons salt
- 1 teaspoon onion powder
- 1 teaspoon paprika
- 1 teaspoon ground pepper
- ½ teaspoon ground cumin
- 1 teaspoon cayenne (optional)
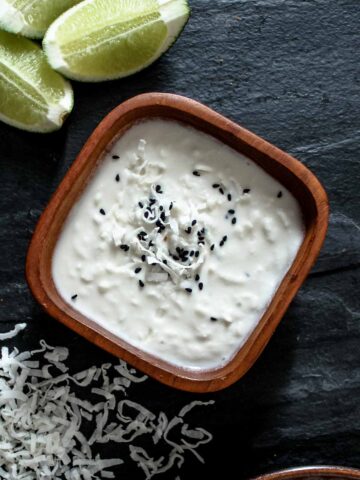
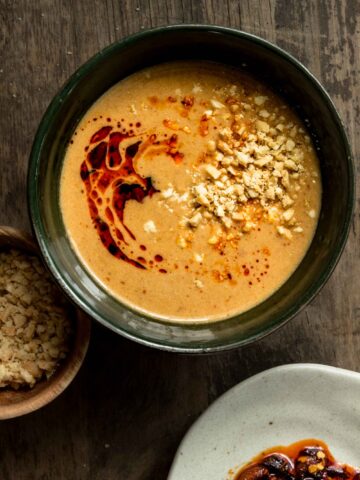
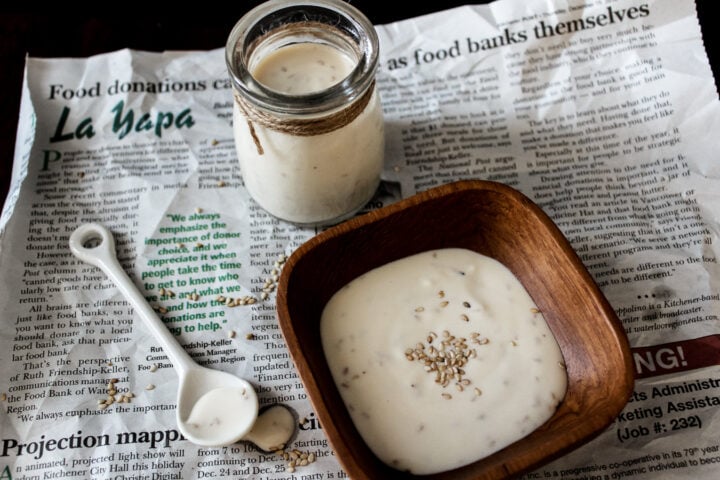
Creamy Honey Sesame Dip (Optional)
- ¼ cup mayonnaise
- ½ cup sour cream
- 4 teaspoons honey
- 4 teaspoons sesame oil
- 2-3 teaspoons soy sauce
- 2-3 teaspoons toasted sesame seeds
- 3 teaspoons sriracha chili sauce (optional, to make it spicy)
Instructions
Preparation
- Cut 6 boneless chicken thighs up into 1 inch sized chunks and put it in a bowl or ziploc bag with 1 cup buttermilk, ¼ cup water and, 1 tablespoon salt.
- Refrigerate for a minimum of 4 hours, but it's best to leave it overnight.
Mixing the Batter
- Bowl 1: In a medium bowl, beat 2 eggs and set aside
- Bowl 2: In another bowl, combine 3-4 teaspoons garlic powder, 1 teaspoon onion powder, 1 teaspoon paprika, 1 teaspoon cayenne, 1 teaspoon ground pepper, ½ teaspoon ground cumin, 1 ½ teaspoons salt, ¼ cup potato starch or potato flour, and ¾ cup all purpose flour together and set aside
Deep Frying (First Fry)
- Take the chicken out of the fridge and let it sit in room temperature for at least 1 hour.
- Set the deep fryer to 350F (if you are using a high wall pot over the stove, set the heat to medium-low)
- One by one, take each chicken piece and lightly coat the flour mix and dust off the excess flour.
- Coat it with the egg mixture
- Coat it again in the flour mixture
- (Optional) Repeat the egg and flour mixture steps a few more times if you want a thicker batter.
- Deep fry the chicken in batches for 1 minute. Careful not to overcrowd the pan which will drop the oil temperature.
- Let the chicken rest on parchment paper or brown paper bags to absorb excess oil
Deep Frying (Second Fry)
- Set the deep fryer to 375F (if you are using a high wall pot over the stove, set the heat to medium)
- Add the chicken back in and cook it for 3-4 minutes
- Let it cool on newspaper, parchment paper or brown paper bag
- Enjoy!

Nutrition
*Nutritional information is calculated using online tools and is an estimate*
Disclaimer: We are a participant in the Amazon Services LLC Associates Program, an affiliate advertising program designed to provide a means for us to earn fees by linking to Amazon.com and affiliated sites, however I provide these links to make items easier to find if you cannot purchase this locally and I would never recommend anything I don’t own myself or highly recommend. I would prefer you buy your items locally if possible to support your local shops (and chances are they are cheaper locally as well!)


Justin says
can we air fry instead of deep fry?
Justin says
whoops just saw the option at the end lol
Joyce Lee says
Hi Justin!
When you air fry it, make sure to brush, or spray oil on the batter to coat each piece. That will help it air fry more evenly and get it more crispy as well. 🙂
John says
I have to say it's kind of frustrating when people leave comments and rate a recipe without having tried it. "Wow, this looks great! Five stars!" Come on, people... I know we eat with our eyes first, but at least give it a go before rating it! 🙂
That said, I did try this recipe and it came out fairly well. I took the double-dip approach of applying the flour, and it led to a nicely crispy morsel of chicken. I did experiment with a single fry vs. a double fry. Honestly, there wasn't much of a difference that I could tell. Color and texture were pretty similar.
One point I will call out is that you may run out of the flour mixture faster than expected - especially if you double or triple dip the chicken. I prepared a 1 1/2 lb. package of chicken tenders (cut to size) which required double the flour recipe listed above. Not a big deal, but important to keep that in mind. And speaking of using chicken tenders in place of other cuts, the results were great. Bright white pieces of juicy chicken -- everyone loved them, though the spice content was a tad high for some. I decided, after some testing, to eliminate the cumin, cut the cayenne levels in half and eased up on the black pepper. That kept the flavor, but toned down the heat (which, again, wasn't overpowering for some, but was noticeable for others).
4 Solid Stars 🙂
Joyce says
Woohoo! I am so happy this turned out for you! So happy you experimented with the spice levels as well to get it just right! 🙂 You are actually making me crave this again, so I think I will need to make this again this weekend! haha